
Homemade Yogurt Recipe: Easy, Healthy, and Better Than Store-Bought


This post may contain affiliate links. Please see my Disclosure, Privacy and Terms of Use for more information.
There’s something incredibly satisfying about making your own homemade yogurt. For years, I reached for those colorful containers in the grocery store, thinking I was making a healthy choice. Yogurt is often marketed as a probiotic-rich, high-protein, calcium-packed snack, right? But after a closer look at the labels, I realized most store-bought yogurts — especially flavored yogurts — are filled with preservatives, artificial flavors, and excess sugar. That’s when I decided to start making my own yogurt, and honestly, I’ve never looked back. Homemade yogurt isn’t just healthier — it’s also easy, budget-friendly, and endlessly customizable. Whether you like it plain, with a drizzle of honey, or loaded with real fruit, you’re in control of every ingredient. In this post, I’ll show you how to make yogurt at home (with or without a yogurt maker), why I ditched store-bought yogurt, and how to turn regular yogurt into thick, creamy Greek yogurt. If you’re looking for a fun kitchen project that pays off in delicious, wholesome breakfasts and snacks, this is it!
Why You’ll Love This Easy Homemade Yogurt Recipe
- No preservatives or artificial ingredients: Just milk and a little bit of starter yogurt.
- Customizable flavors: Add your favorite fruits, natural sweeteners, or even vanilla for a flavor that’s truly yours.
- Budget-friendly: One batch can save you money compared to buying single-serve containers.
- Beginner-friendly: No special skills required — just a bit of patience!
- Naturally healthy: Packed with real probiotics and protein, without the sneaky sugars.
The Problem with Store-Bought Yogurt:
Why Homemade Is Healthier
If you’ve ever checked the ingredient list on a typical store-bought yogurt, you might be surprised (or even shocked) by what’s inside.
Many brands use:
- Preservatives: To extend shelf life, but these can impact gut health and aren’t necessary when you make yogurt fresh.
- Artificial flavors and colors: Especially in fruit yogurts, which often contain little to no real fruit.
- Added sugars: Some “healthy” yogurts have as much sugar as a dessert!
- Thickeners and stabilizers: Like gelatin, pectin, or starches, to improve texture and consistency.
All these extras can take away from the natural goodness of yogurt. What should be a simple, nourishing food is often turned into a processed product that’s not as healthy as it appears.
A Brief History of Yogurt:
From Ancient Times to Your Kitchen
Yogurt has been enjoyed for thousands of years, with origins tracing back to ancient Mesopotamia, Central Asia, and the Middle East. Traditionally, it was made by fermenting milk with naturally occurring bacteria, often in clay pots or animal skins. Yogurt became a staple in many cultures, valued for its tangy flavor, creamy texture, and probiotic benefits. Today, it’s popular worldwide—but homemade yogurtremains closest to those authentic roots.
Homemade Yogurt vs. Store-Bought:
The Benefits of Making Yogurt at Home
When you make yogurt at home, you’re in control:
- Ingredients: Just milk and a starter. No mystery additives.
- Flavor: Make it as tangy or mild as you like.
- Texture: Adjust the thickness by straining for Greek-style yogurt.
- Freshness: Homemade yogurt tastes fresher and more vibrant than anything from a store.
Plus, you can get creative — try different milks (cow, goat, or even non-dairy alternatives), sweeteners, and mix-ins.
📢 Fun Facts About Yogurt
- Yogurt’s name comes from the Turkish word “yoğurmak,” meaning to thicken or curdle.
- Probiotic cultures in yogurt support gut health and digestion.
- Greek yogurt is simply regular yogurt that’s been strained to remove whey, making it thicker and higher in protein.
- You can use a spoonful of your homemade yogurt as a starter for your next batch!
- Yogurt is naturally gluten-free and can be made dairy-free. This makes homemade yogurt a great choice for people with gluten intolerance or those following a vegan or dairy-free diet when using plant-based milks.
- Yogurt can be used as a healthy substitute in recipes.
- Swap out sour cream, mayonnaise, or heavy cream for plain yogurt in dips, dressings, or baking to boost protein and add probiotics.
- Homemade yogurt is a great source of calcium and B vitamins.
In addition to probiotics, yogurt provides essential nutrients like calcium, vitamin B12, and riboflavin, which support bone health and energy. - Yogurt fermentation time affects taste and nutrition. The longer you ferment your homemade yogurt, the tangier and thicker it becomes, and the higher the probiotic count—so you can customize both flavor and health benefits!
💡Tips, Tricks & Variations for the Best Homemade Yogurt
- ✅ Choose the right milk: Whole milk makes creamier yogurt, but you can use low-fat or even non-dairy milk (just check for additives).
- ✅ Starter matters: Use plain, unsweetened yogurt with live active cultures for your first batch.
- ✅ Temperature is key: Keep milk between 110–115°F (43–46°C) for culturing.
- ✅ No yogurt maker needed: Use a slow cooker, Instant Pot, or even just a warm oven or heating pad.
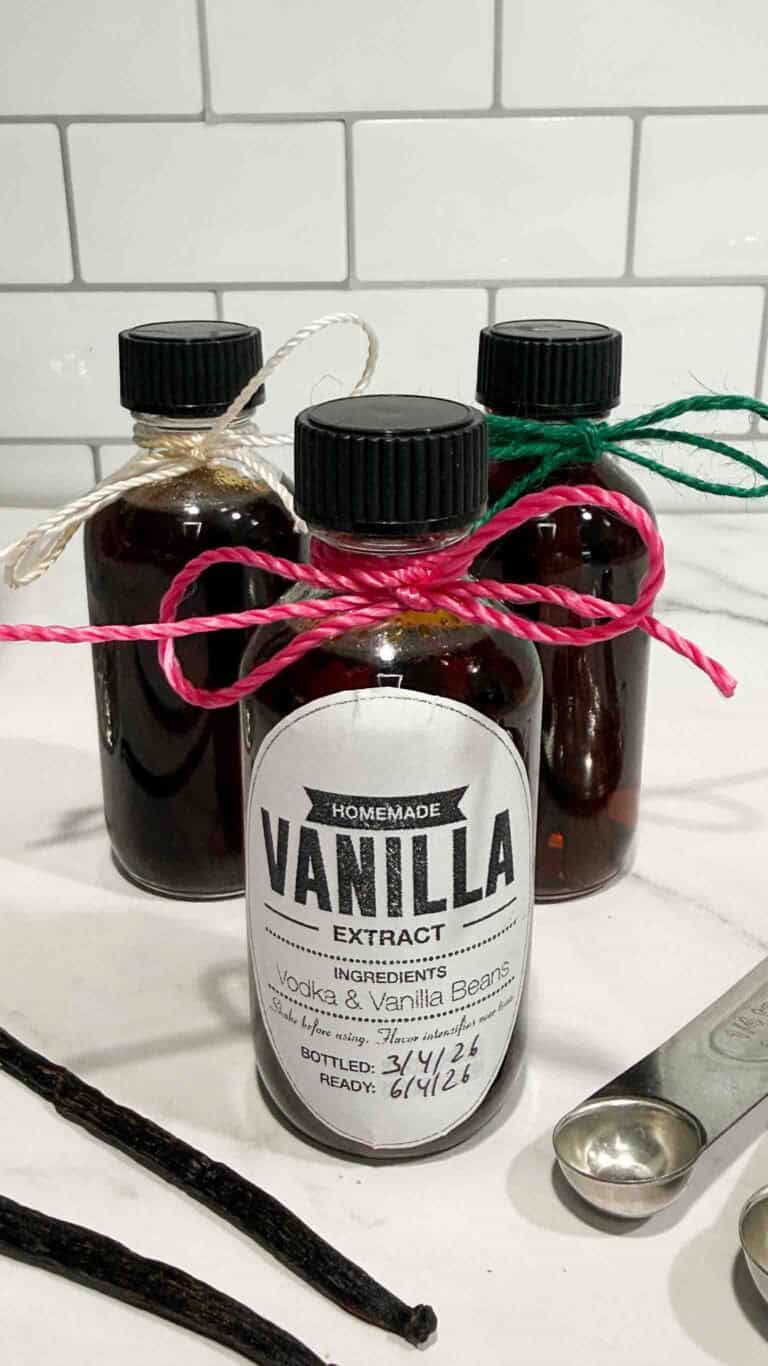
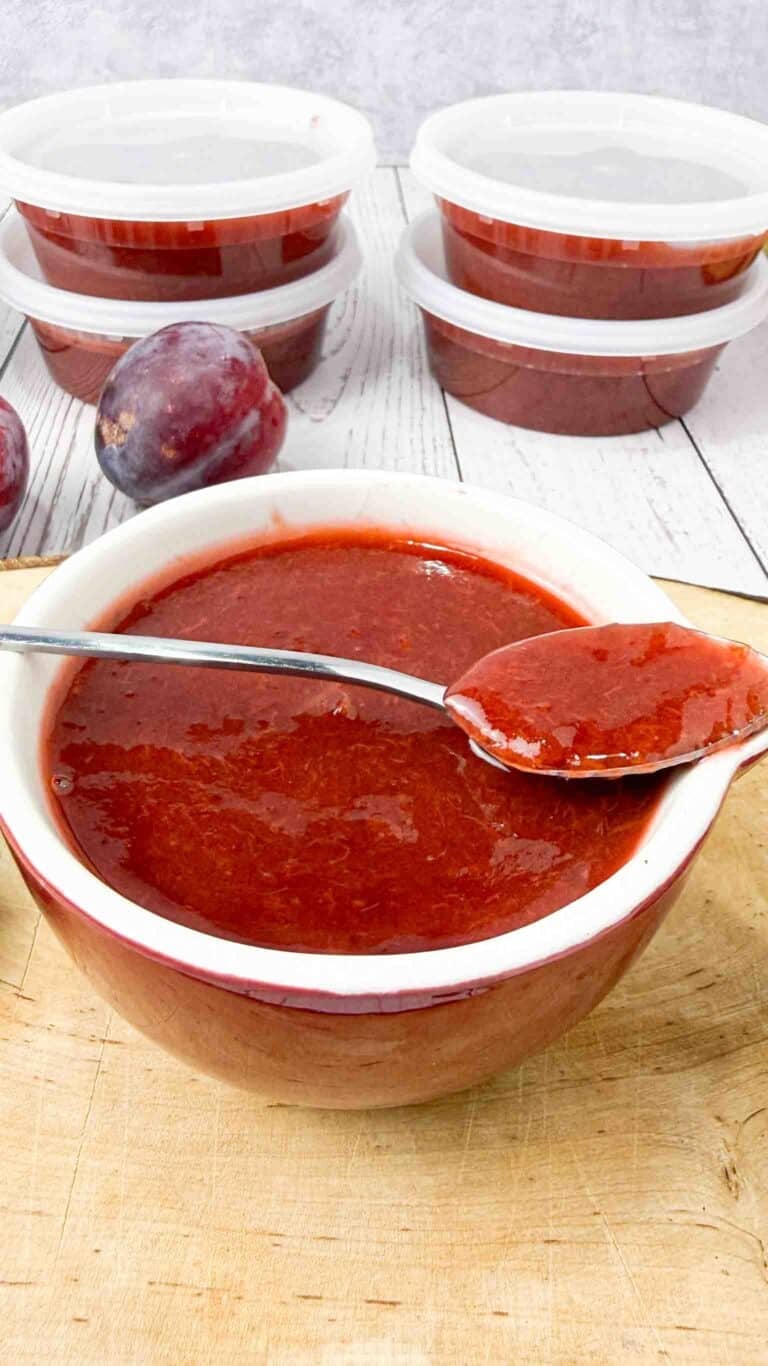
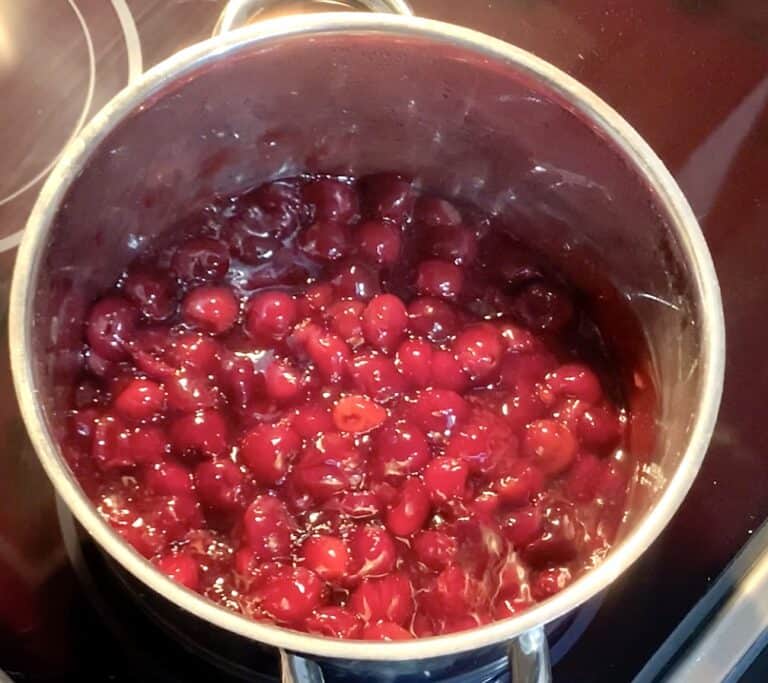
- ✅ Flavor ideas: Add honey, maple syrup, vanilla extract, cinnamon, or real fruit after culturing.
- ✅ For Greek yogurt: Strain through cheesecloth or a clean kitchen towel for 2–4 hours.
🥜 Substitutions & Allergy Info for Yogurt
- Dairy-free yogurt: Use coconut, almond, or soy milk. Look for brands without added gums or stabilizers, and use a dairy-free yogurt starter.
- Lactose-free: Lactose-free cow’s milk works just as well.
- Vegan yogurt: Use plant-based milk and a vegan yogurt starter.

Ingredient Spotlight: Milk for Yogurt Making
Milk is the foundation of yogurt. Whole milk makes the richest, creamiest yogurt, but 2% or skim will also work. For non-dairy yogurt, coconut milk is a favorite for its thickness and flavor, but almond and soy are also good options.
How to Make Homemade Yogurt:
Step-by-Step Recipe
Ingredients
- 1 liter (about 4 cups) milk (whole, 2%, or your choice)
- 2 tablespoons plain yogurt with live active cultures (as a starter)
Equipment
- Heavy saucepan
- Thermometer (optional, but helpful)
- Whisk
- Glass or ceramic container with lid
- Cheesecloth or clean kitchen towel (for Greek yogurt)
- Strainer
Instructions
- Heat the Milk: Pour the milk into a saucepan and slowly heat it to 180°F (82°C), stirring occasionally. This helps kill any unwanted bacteria and improves texture.

- Cool the Milk: Remove from heat and let cool to 110–115°F (43–46°C). You can speed this up by placing the pot in a cold water bath.
- Add the Starter: Whisk 2 tablespoons of plain yogurt with live cultures into the cooled milk until well combined.
- Incubate: Pour the mixture into a clean glass or ceramic container. Cover with a lid or plastic wrap. Keep the yogurt warm (110–115°F/43–46°C) for 6–12 hours. You can use:
- An oven with the light on or a yogurt maker
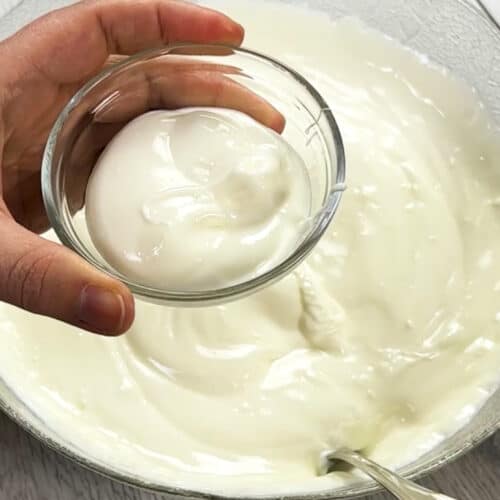
- Check for Doneness: After 12 hours, check the yogurt. It should be set and tangy. The longer it incubates, the tangier and thicker it gets.
- Chill: Refrigerate for at least 2 hours to firm up.
- For Greek Yogurt: Line a strainer with cheesecloth and place over a bowl. Pour in the yogurt and let drain for 2–4 hours, or until it reaches your desired thickness. Sometimes you have to figure out how to hang it up.

- Flavor & Serve: Stir in honey, vanilla, or real fruit before serving. Enjoy!
❄️ Storage & Freezing
- Storage: Homemade yogurt keeps in the fridge for up to 2 weeks in a sealed container.
- Freezing: You can freeze yogurt for up to 2 months, but the texture may change. It’s best enjoyed fresh.

FAQ – about Homemade Yogurt
Q: Can I use non-dairy milk?
A: Yes! Just make sure it’s unsweetened and free of stabilizers. Use a dairy-free yogurt starter.
Q: How do I make my yogurt thicker?
A: Use whole milk, incubate longer, or strain to make Greek yogurt.
Q: My yogurt didn’t set. What went wrong?
A: The milk may have been too hot or too cool when you added the starter, or the starter didn’t have live cultures. Try again with a fresh starter.
Q: Can I reuse homemade yogurt as a starter?
A: Yes! Use a spoonful from your last batch, but after a few generations, start fresh with store-bought for best results.
Q: Is homemade yogurt safe?
A: Yes, as long as you use clean equipment and fresh milk.
Q: Yogurt is naturally gluten-free and can be made dairy-free.
A: This makes homemade yogurt a great choice for people with gluten intolerance or those following a vegan or dairy-free diet when using plant-based milks.
Q: Yogurt can be used as a healthy substitute in recipes.
A: Swap out sour cream, mayonnaise, or heavy cream for plain yogurt in dips, dressings, or baking to boost protein and add probiotics.
Q: Homemade yogurt is a great source of calcium and B vitamins.
A: In addition to probiotics, yogurt provides essential nutrients like calcium, vitamin B12, and riboflavin, which support bone health and energy.
Q: Yogurt fermentation time affects taste and nutrition.
A: The longer you ferment your homemade yogurt, the tangier and thicker it becomes, and the higher the probiotic count—so you can customize both flavor and health benefits!
Related Recipes
Wrapping Up:
Why You Should Make Yogurt at Home
Making yogurt at home is one of those simple kitchen projects that delivers big rewards. You get a wholesome, customizable, and preservative-free yogurt that tastes so much better than anything from the store. Plus, you can use it in breakfasts, snacks, smoothies, or even savory dishes. If you’ve ever been disappointed by store-bought yogurt, give homemade a try — it’s easier than you think, and your taste buds (and your gut!) will thank you.
Enjoy every bite,

Homemade Yogurt Recipe: Easy, Healthy, and Better Than Store-Bought
Ingredients
- 4 cups milk whole, 2%, or milk of your choice
- 2 tablespoons plain yogurt with live active cultures as a starter
Instructions
- Heat the Milk – Pour the milk into a large saucepan and slowly heat it to 180°F (82°C) over medium-low heat, stirring occasionally to prevent scorching. Heating the milk helps improve the yogurt’s texture and creates a smoother, thicker consistency. Use a kitchen thermometer to monitor the temperature.
- Cool the Milk – Remove the saucepan from the heat and allow the milk to cool to 110–115°F (43–46°C). To speed up the cooling process, place the saucepan in a cold water bath, stirring occasionally. Make sure the milk has cooled sufficiently before adding the starter, as excessive heat can kill the beneficial yogurt cultures.
- Add the Yogurt Starter – Place 2 tablespoons of plain yogurt containing live and active cultures into a small bowl. Add a few tablespoons of the warm milk and whisk until smooth. Pour this mixture back into the saucepan and gently stir until evenly combined.
- Incubate the Yogurt – Pour the milk mixture into a clean glass or ceramic container and cover with a lid or plastic wrap. Keep it at a steady temperature of approximately 110°F (43°C) for 6–12 hours. A yogurt maker works well, or you can use an oven with the light on if it stays at the right temperature. Avoid moving or stirring the yogurt while it incubates.
- Check for Doneness – After 6–8 hours, gently check the yogurt. It should have a soft, custard-like consistency and a pleasantly tangy aroma. If it is still too thin or you prefer a tangier flavor, continue incubating for up to 12 hours. The longer the yogurt incubates, the tangier it becomes.
- Refrigerate the Yogurt – Once the yogurt has set, transfer it to the refrigerator without stirring. Chill for at least 2 hours, preferably longer, to allow it to firm up completely. The yogurt will continue to thicken as it cools.
- Make Greek Yogurt (Optional) – For thicker, Greek-style yogurt, line a fine-mesh strainer with several layers of cheesecloth and place it over a deep bowl. Pour the chilled yogurt into the cheesecloth and refrigerate for 2–4 hours, allowing the excess whey to drain into the bowl. For easier draining, gather the corners of the cheesecloth, tie them securely, and suspend the bundle over a bowl in the refrigerator. The longer you strain it, the thicker your yogurt will become.
- Flavor and Serve – Once chilled, stir the yogurt until smooth and creamy. Enjoy it plain or sweeten it with honey, vanilla extract, or fresh fruit. Store any leftovers in a covered container in the refrigerator.