
No-Churn Blueberry Ice Cream

This post may contain affiliate links. Please see my Disclosure, Privacy and Terms of Use for more information.
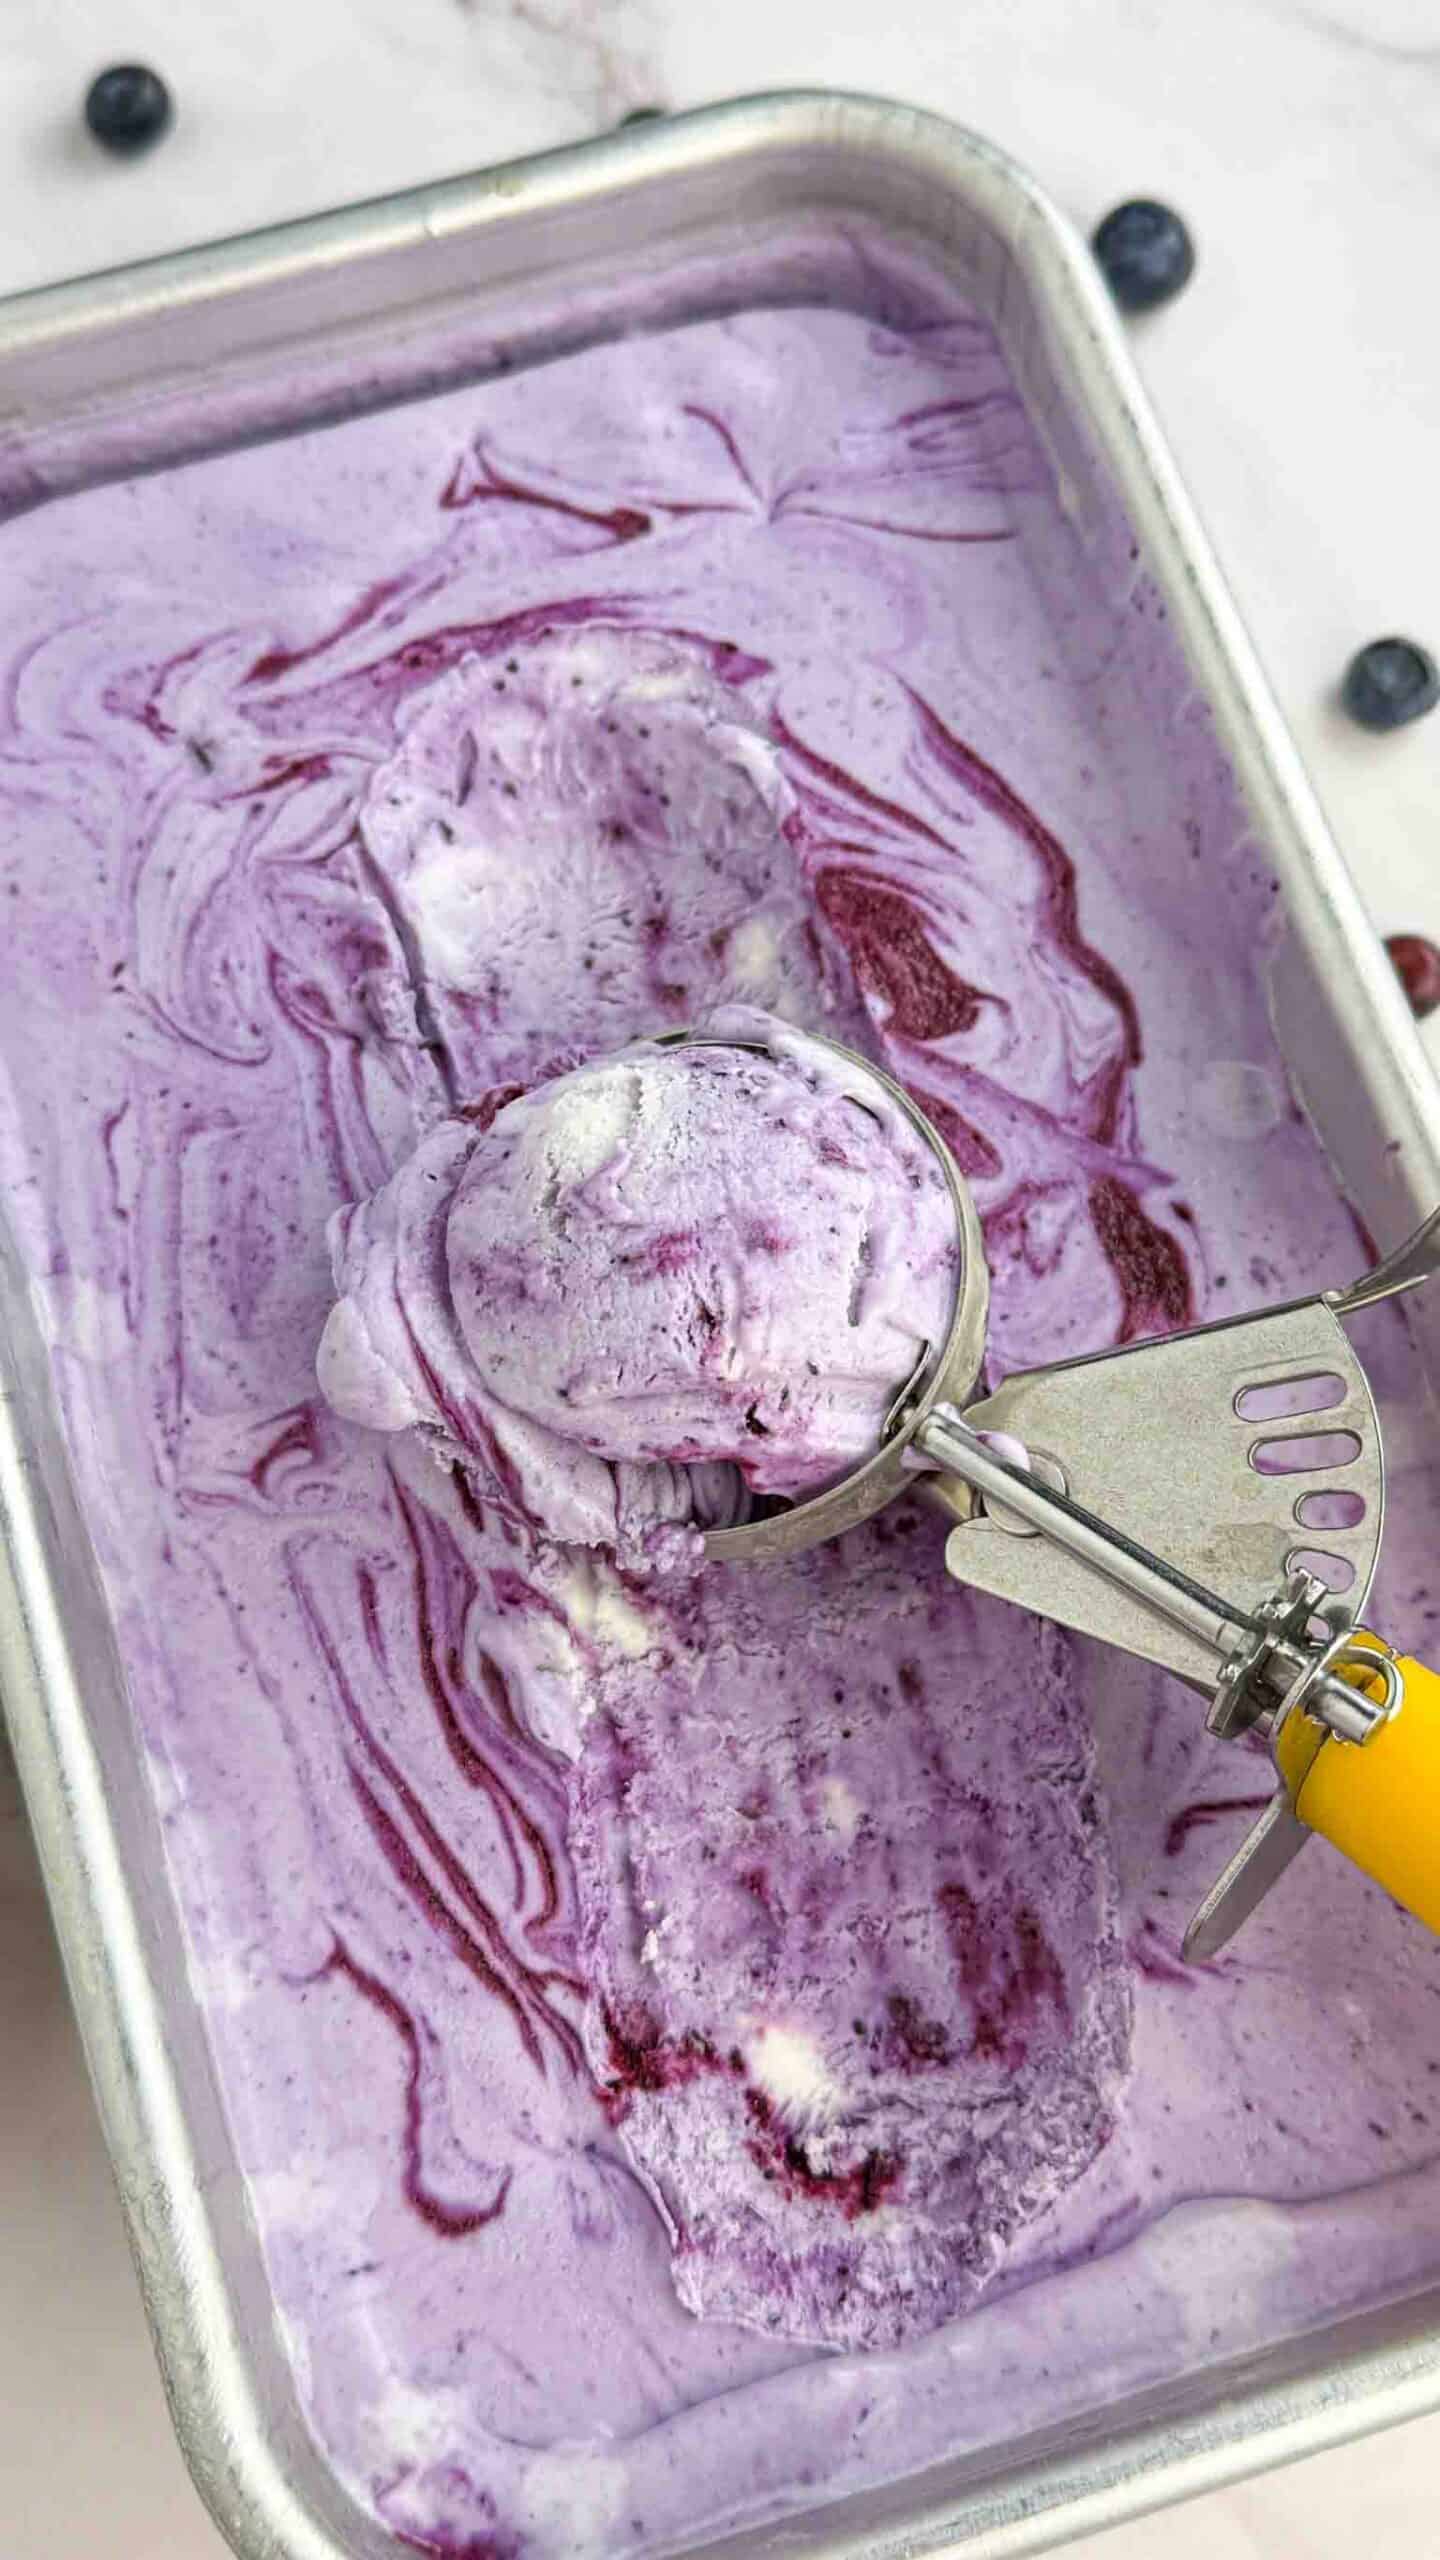
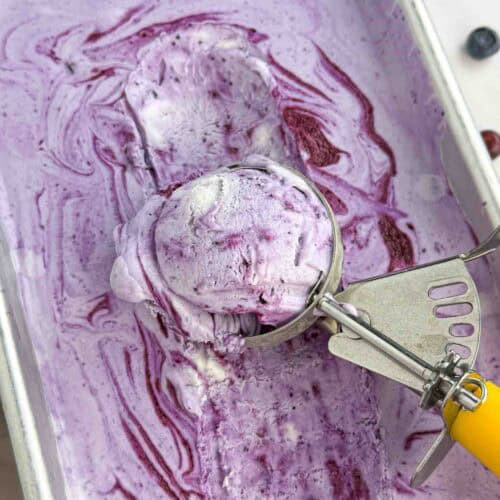
It’s the kind of hot afternoon where standing in front of the open freezer counts as a hobby — and this is the ice cream that gets me through it. No ice cream maker buried in the back of a cabinet, no fussy custard base, just a handful of ingredients and a loaf pan doing all the heavy lifting. Sweet, cold, purple-swirled, and dangerously easy to eat straight from the pan with a spoon (ask me how I know).
Why You’ll Love This
This one’s a keeper for a few reasons, and I think you’ll fall for it just as fast as we did.
- No ice cream maker required — just a stand mixer (or hand mixer) and a loaf pan.
- Real blueberry flavor, not that weird artificial-blue thing some store-bought pints pull.
- Only 5 hours of freezer time stands between you and dessert.
- Naturally kid- and picky-husband-approved once you make one small tweak (more on that below).
The Blueberry Mutiny

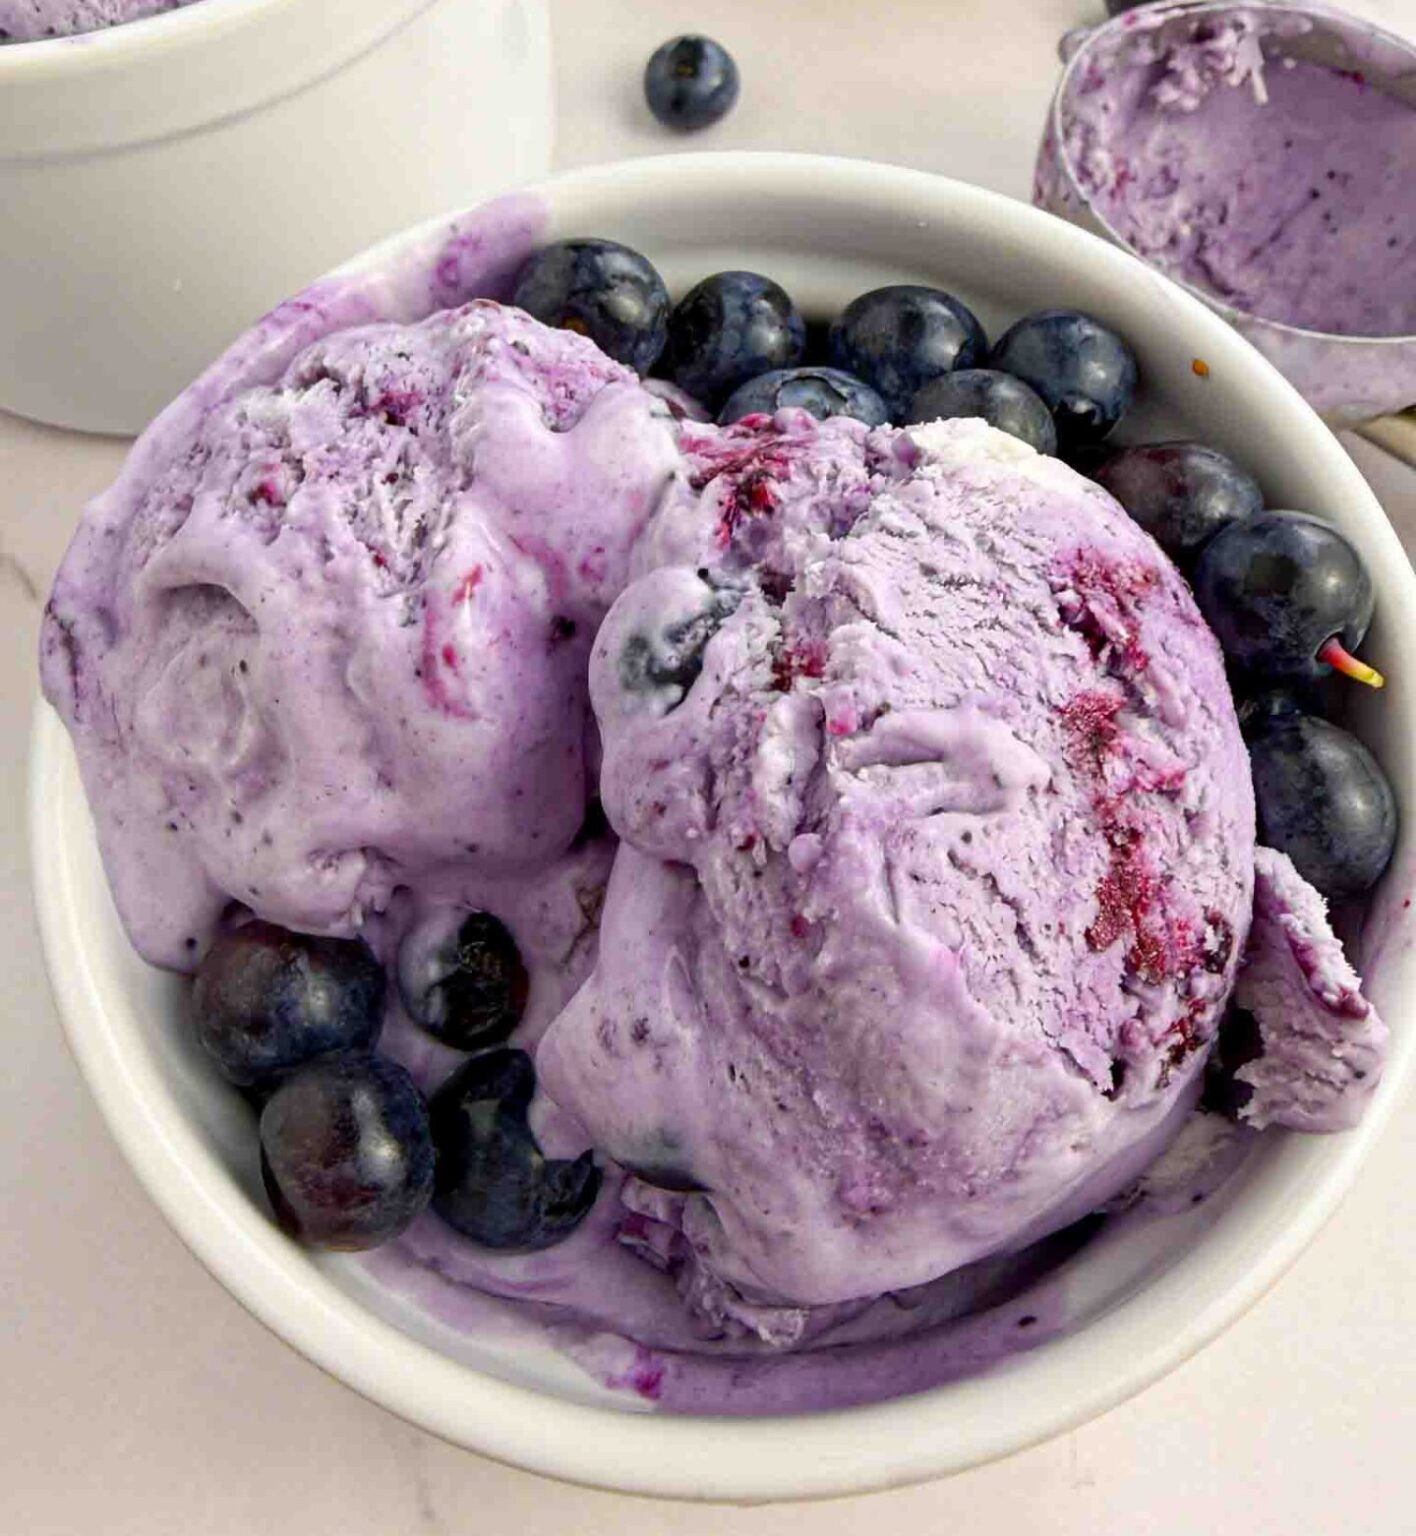
If you’ve hung around here before, you know Kevin has exactly one food rule: no chunks. It’s the same reason his strawberry sauce has to be blitzed into oblivion with zero evidence a strawberry was ever involved. So when I made the “traditional” version of this ice cream — the one where you fold in a whole cup of blueberries at the end — I genuinely thought I was safe. They’re berries, not lumps! They’re pretty! Wrong.
Turns out frozen whole blueberries go rock-hard in ice cream, and biting into one mid-bite is apparently “an ambush” (Kevin’s words) and “like hitting a piece of gravel” (Manny, not to be outdone). Two grown men, betrayed by fruit. So now the whole batch gets cooked down into sauce instead — smoother, sweeter, and no one at my table feels attacked by a blueberry.
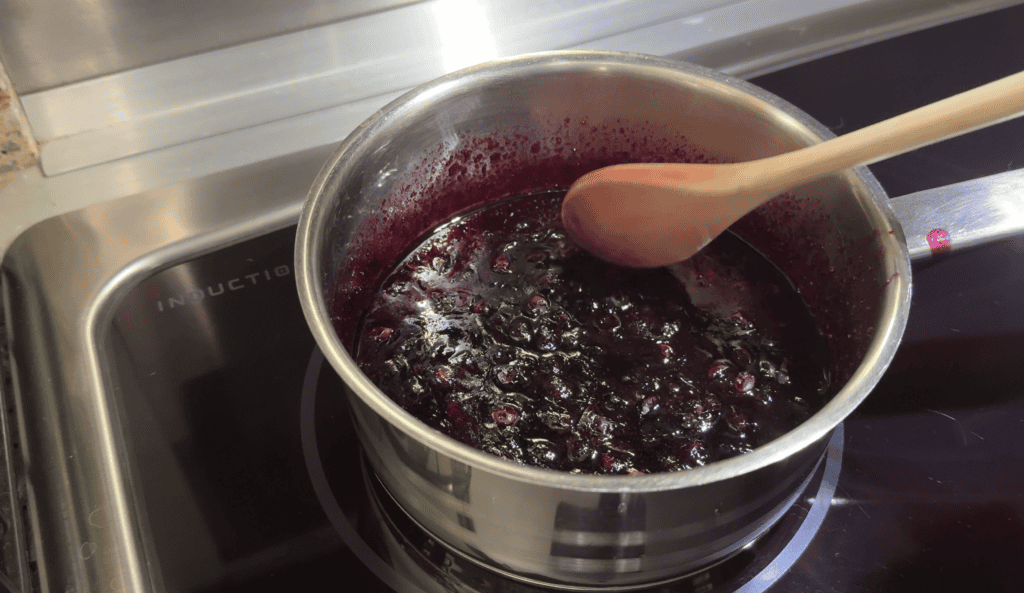
It reminded me a little of how my Oma sed to cook berries down low and slow for Rote Grütze back in Germany — no fancy technique, just patience and a wooden spoon. Some things really do translate across an ocean.

What Is No-Churn Ice Cream?
“No-churn” just means you skip the ice cream maker entirely. Instead of spinning a custard base while it freezes (which is what keeps regular ice cream from turning into a solid ice block), you whip air into heavy cream by hand or with a mixer, then fold in sweetened condensed milk for creaminess and sweetness. The whipped air does the same job the machine usually would. Pour it in a pan, freeze it, and it comes out scoopable and soft — no machine, no fuss, no problem.
Ingredient you need
A few notes on what’s going into this before you start pulling things out of the fridge.
- Fresh blueberries — the whole 3 cups go into the sauce this time, not split between sauce and whole berries. Trust me on this one.
- Sweetened condensed milk — the original version of this recipe calls for a full 14 oz can. I use half (7 oz) because a full can pushes this into tooth-achingly sweet territory for my taste. If you (or your family) like things really sweet, go ahead and use the whole can — it’ll still set up just fine either way.
- Heavy whipping cream — this is what gives you that soft, scoopable texture without a machine, so don’t swap it for anything lighter.
- Lemon juice — just a splash to brighten the blueberry sauce and keep it from tasting flat.
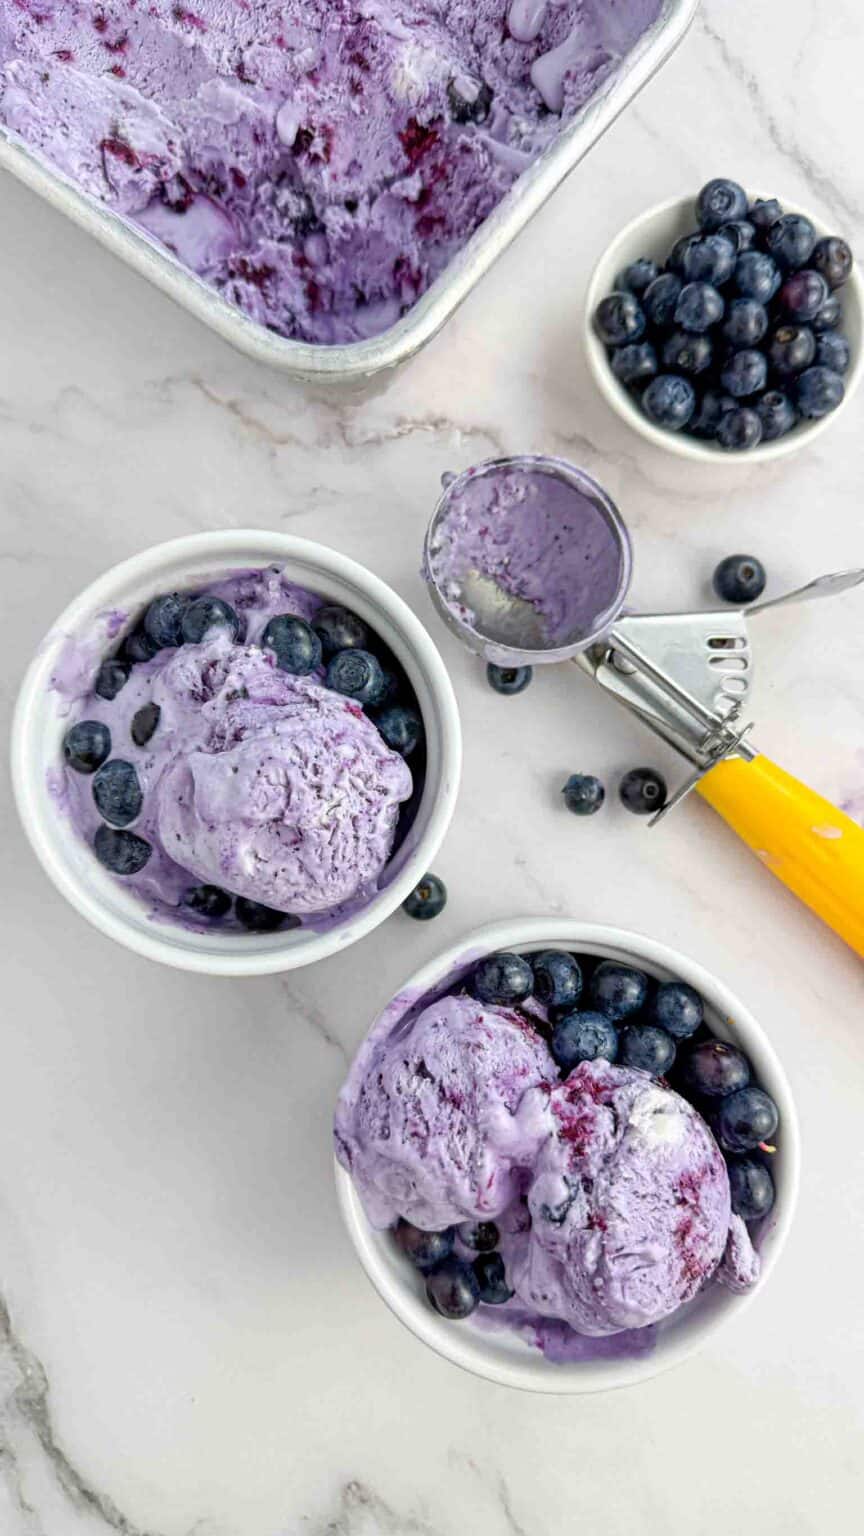
Equipment you need
Nothing fancy needed here — you probably already own all of this.
- 9×5-inch loaf pan
👉 Loaf Pan - Stand mixer or hand mixer
👉 Kitchen Aid Hand Mixer - Medium saucepan
👉 Sauce Pan with Lid - Immersion Blender
👉 Immersion Blender Set
How to Make No-Churn Blueberry Ice Cream
Here’s the step-by-step — nothing here requires special skills, just a little patience while things cool.
1. Place your 9×5-inch loaf pan in the freezer to chill while you prep everything else.
2. In a medium saucepan over medium heat, combine all 3 cups of blueberries, the sugar, and the lemon juice. Bring to a boil, then use a potato masher or the back of a spoon to gently mash the berries as they cook. They’ll break down into a chunky sauce in about 10–15 minutes.
3. Remove from heat and set aside to cool completely. Don’t rush this part — warm sauce will deflate your whipped cream.
4. In the bowl of a stand mixer, start whipping the heavy cream on low speed, gradually increasing to medium as it thickens (trust the slow start, or you’ll be wearing cream).
5. Once it starts to peak, bump the speed up to high and whip until thick and stiff — this happens fast, so don’t walk away.
6. In a separate medium bowl, stir together the sweetened condensed milk, vanilla extract, salt, and 1 cup of the whipped cream.
7. Gently fold the condensed milk mixture and the cooled blueberry sauce into the rest of the whipped cream, until no white streaks remain.
8. Pour the mixture into your chilled loaf pan and freeze for at least 5 hours, or until fully set.
👩🏻🍳 Debbie’s Tips
A few things I’ve learned the hard way so you don’t have to.
- Let the blueberry sauce cool completely before folding — even slightly warm sauce will melt your whipped cream and leave you with soup, not ice cream.
- Fold, don’t stir. You want to keep as much air in the whipped cream as possible, so use a gentle over-and-under motion with your spatula.
- Want it sweeter? Use the full 14 oz can of sweetened condensed milk instead of half. It’s a completely valid choice — just not my personal one.
- Line your loaf pan with parchment with overhang on the long sides if you want to lift the whole thing out for cleaner slicing.
Serving Ideas
This is delicious completely on its own, but a few of my favorite ways to dress it up:
- A drizzle of extra blueberry sauce (make a little extra and keep it in the fridge) on top of each scoop.
- Crumbled shortbread or graham crackers for crunch.
- A sprig of fresh mint if you’re feeling fancy.
Variations
Once you’ve got the base down, it’s easy to make this recipe your own.
- Texture lovers: if your family doesn’t have a Kevin-and-Manny situation, feel free to reserve up to 1 cup of fresh blueberries and fold them in whole for little bursts of fruit.
- Lemon-blueberry: add a teaspoon of lemon zest along with the lemon juice for a brighter, more citrus-forward flavor.
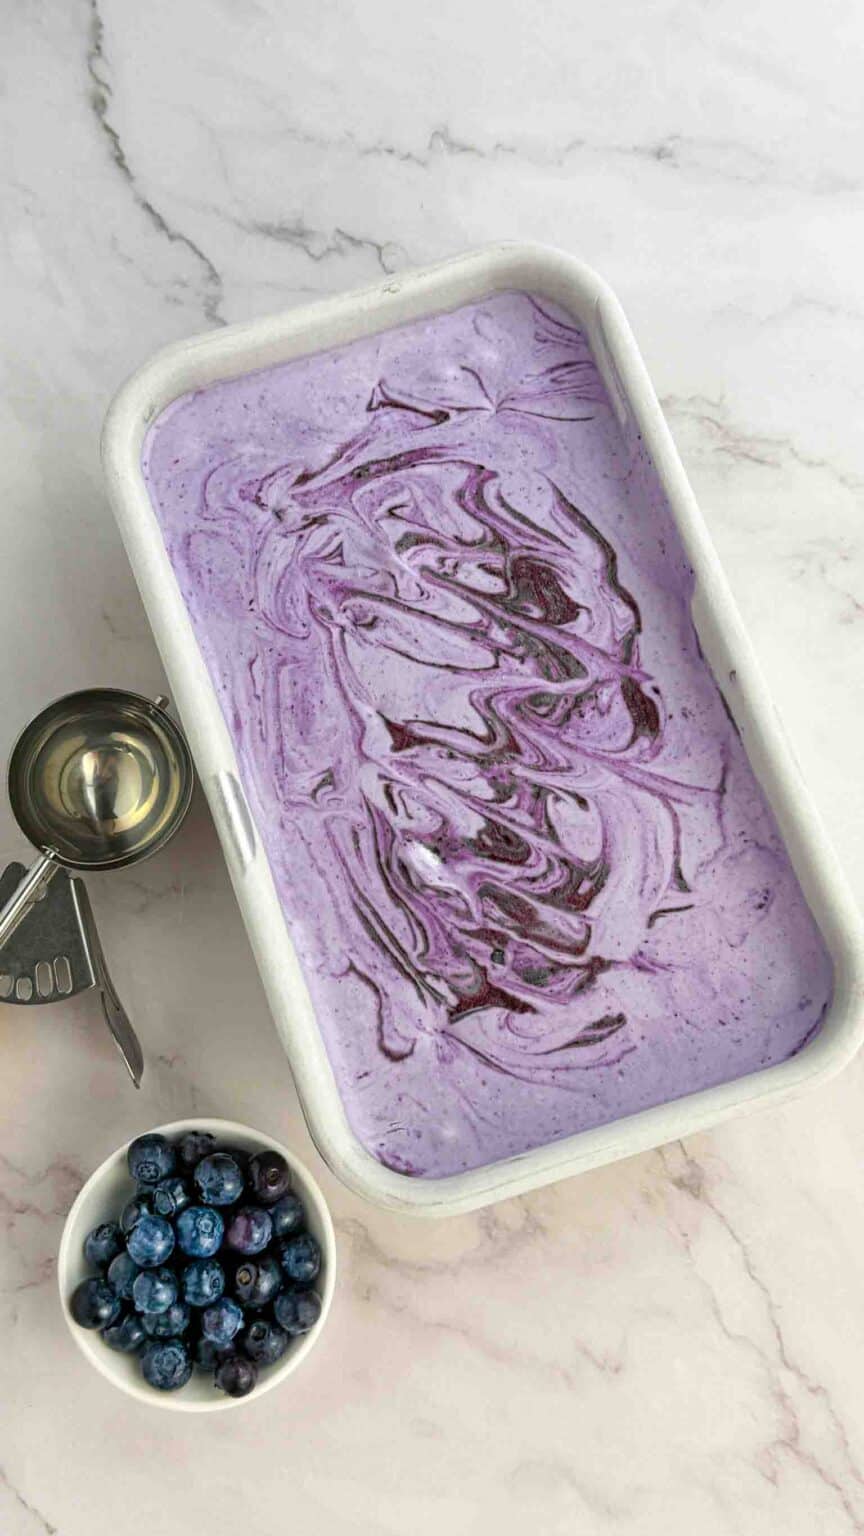
- Swirl it: instead of folding the blueberry sauce in completely, swirl it through with a knife right before freezing for a marbled look.
- Mixed berry: swap up to half the blueberries for blackberries or raspberries.
Storage & Freezing
This keeps beautifully in the freezer, so don’t be afraid to make it ahead.
- Store covered (or in an airtight container) in the freezer for up to 2 weeks.
- Press a piece of parchment or plastic wrap directly on the surface before covering to prevent ice crystals.
- Let it sit at room temperature for 5–10 minutes before scooping if it’s frozen extra hard.
FAQ
1️⃣ Can I use frozen blueberries instead of fresh?
Yes — just add a few extra minutes to the cooking time since frozen berries release more liquid.
2️⃣ Do I have to use the full can of sweetened condensed milk?
Not at all. I use half a can (7 oz) because I find the full can too sweet, but the full 14 oz can works perfectly well if that’s your preference.
3️⃣ Why did my ice cream turn out icy instead of creamy?
It’s usually one of two things: the blueberry sauce wasn’t fully cooled before folding, or the cream wasn’t whipped to stiff peaks.
4️⃣ Can I make this without a stand mixer?
Absolutely — a hand mixer works just fine, it just takes a little longer to get to stiff peaks.
Before You Go
If you make this one, I’d love to hear whether you went full can or half can on the condensed milk — I have a feeling this house is split right down the middle on sweetness preferences, and I bet yours might be too. And if you want to see the whole process in action (including the mixer-whipped-cream splatter zone), I walk through it step by step over on my YouTube channel.
Enjoy every bite,

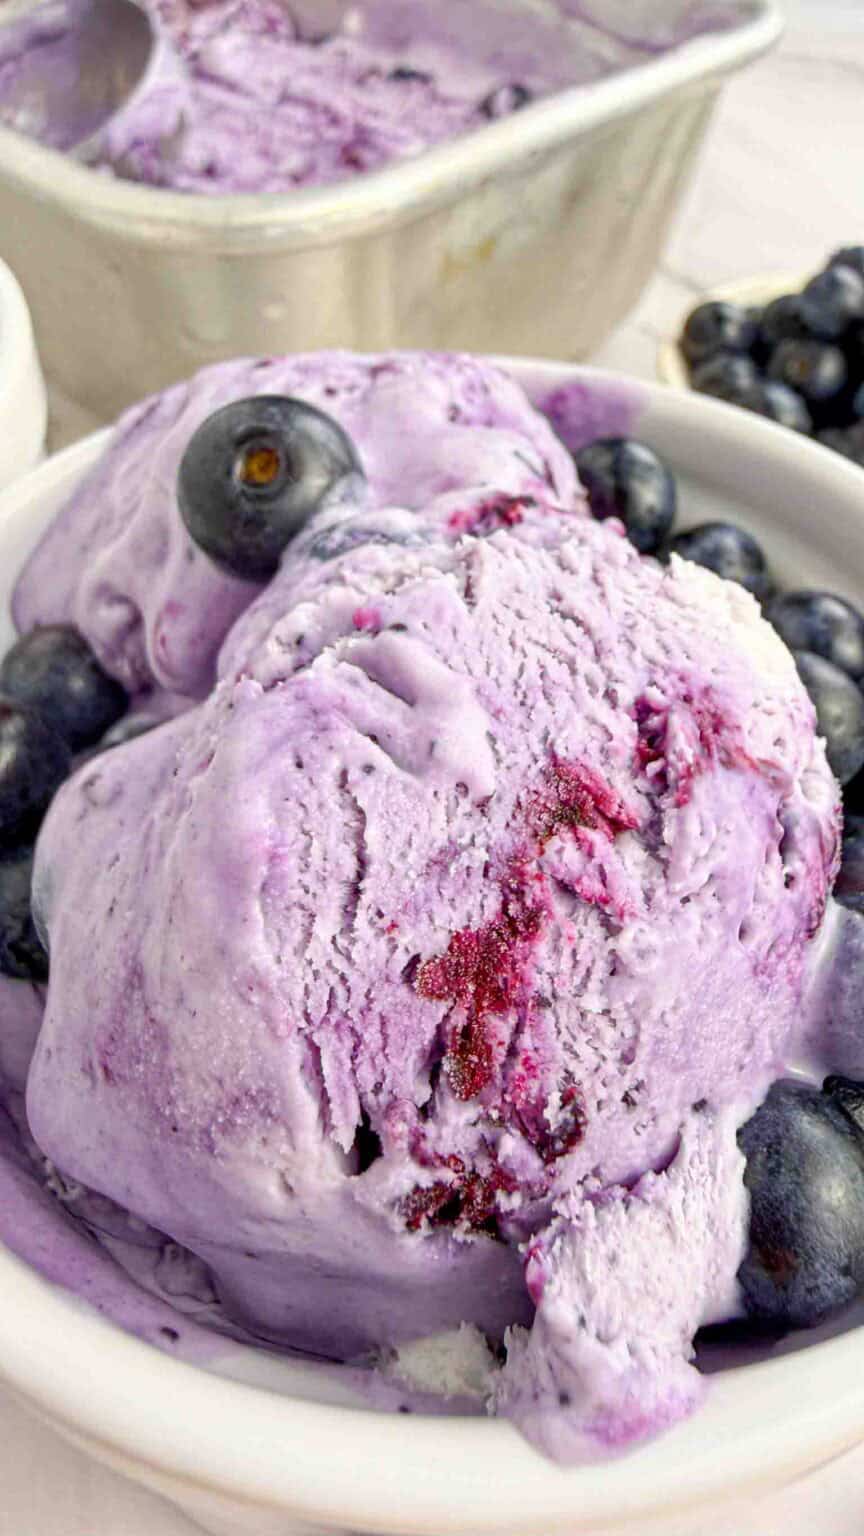
No-Churn Blueberry Ice Cream
Ingredients
- 2 cups cold heavy whipping cream whipped
- 1/2 can sweetened condensed milk 7 oz, if you want it very sweet use the whole 14oz can
- Pinch of salt optional, more flavor
- 2 cups of fresh or frozen blueberries
- 1 tsp vanilla extract
- 1/2 lemon for lemon juice
Instructions
- In a small saucepan, combine the blueberries, sugar, and lemon juice. Stir well and cook over low to medium heat for 5–7 minutes, or until the blueberries have softened and begin to burst.
- Remove the saucepan from the heat and let the mixture cool for about 5 minutes. Mash the blueberries with a potato masher for a chunkier ice cream, or blend with an immersion blender for a smooth consistency. Allow the blueberry mixture to cool completely.
- In a medium mixing bowl, whip the cold heavy whipping cream until stiff peaks form. Be careful not to overwhip, as the cream can become grainy.
- In a separate bowl, whisk together the sweetened condensed milk, vanilla extract, and a pinch of salt until smooth. The salt helps enhance the sweetness and flavor.
- Stir the cooled blueberry mixture into the condensed milk mixture until fully combined, making sure there are no lumps remaining.
- Gently fold the whipped cream into the blueberry mixture a few spoonfuls at a time until everything is just combined. For a marbled look, avoid overmixing so some blueberry streaks remain visible.
- Transfer the mixture to a loaf pan or freezer-safe container. Cover and freeze for at least 8 hours, or overnight, until firm.
- Scoop into bowls or cones and enjoy your homemade blueberry ice cream!