 Fun Facts About Pina Colada Popsicles
- Official Drink: The Pina Colada cocktail became Puerto Rico’s official drink in 1978.
- Coconut Benefits: Coconut milk and cream are rich in healthy fats that boost energy and promote satiety.
- Pineapple Perks: Pineapples are loaded with vitamin C and bromelain, an enzyme that aids digestion and reduces inflammation.
- Versatility: These popsicles can double as smoothie bowls or be blended into a refreshing tropical drink.
- Pineapple Symbolism: Pineapples are a global symbol of hospitality and welcome.
- Coconut Trivia: Did you know that coconuts are technically classified as a fruit, a nut, and a seed?
- Cooling Effect: Popsicles were accidentally invented by an 11-year-old boy in 1905!
- Fun Serving Idea: Serve your Pina Colada Popsicles in a hollowed-out pineapple for a tropical party vibe.
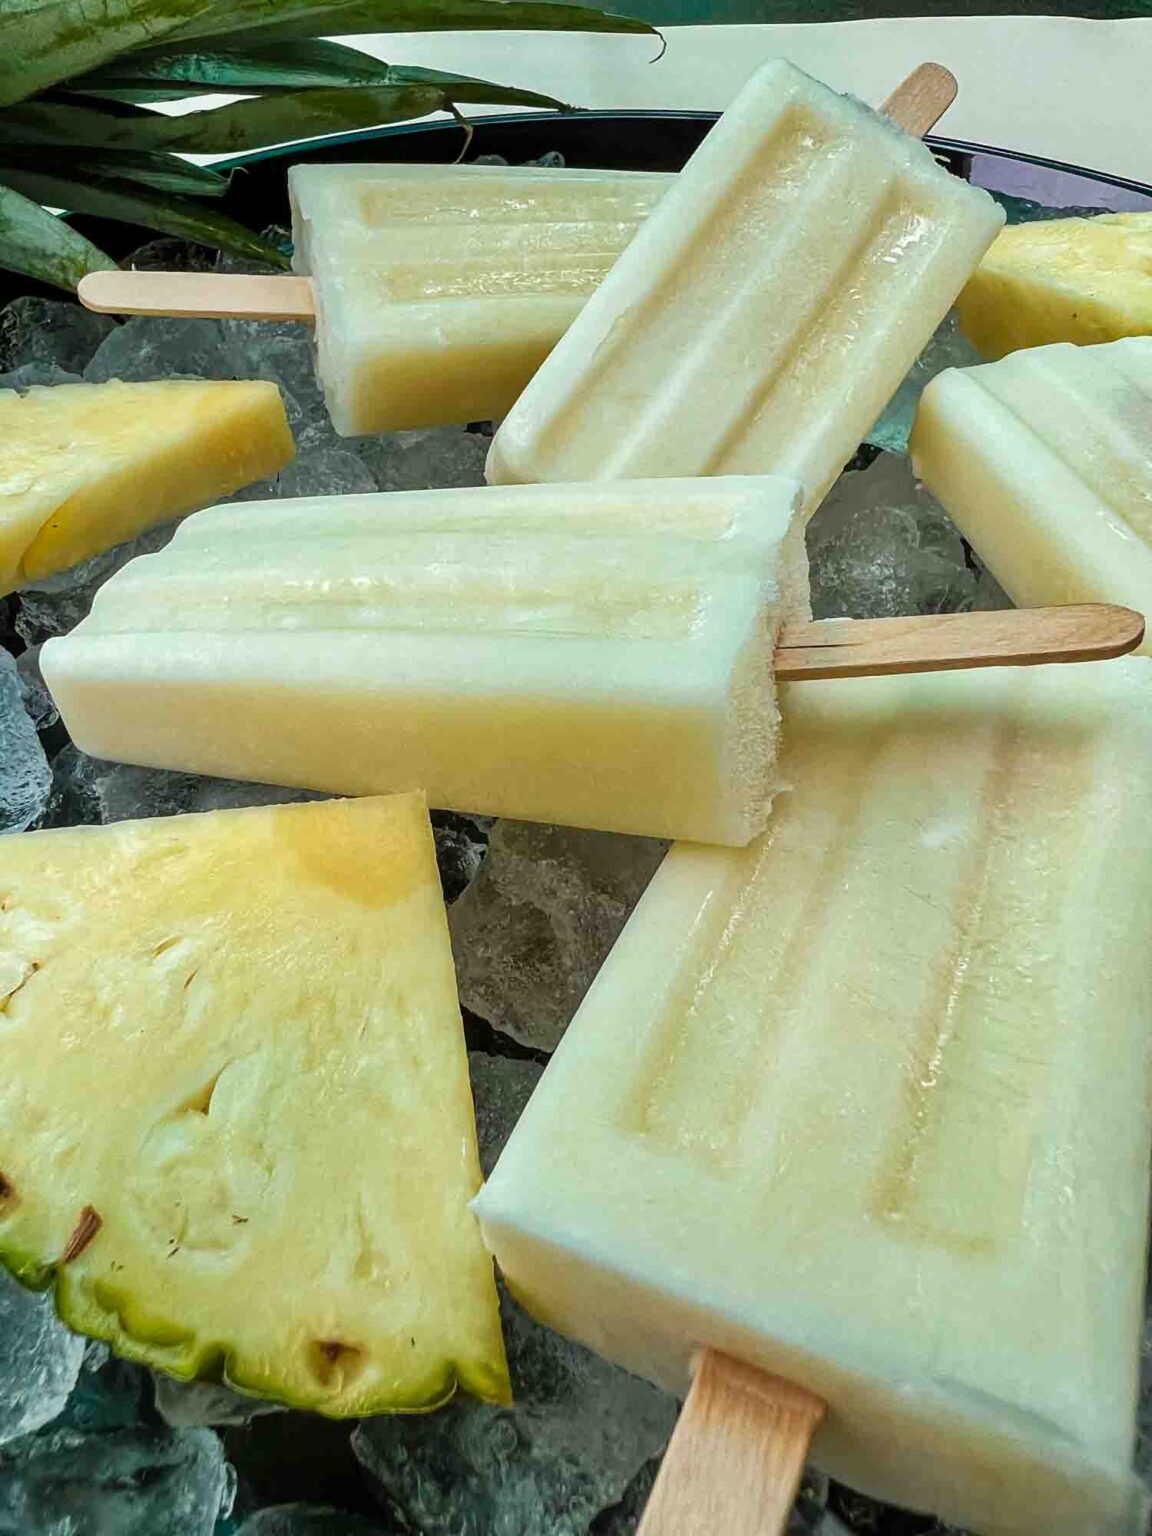


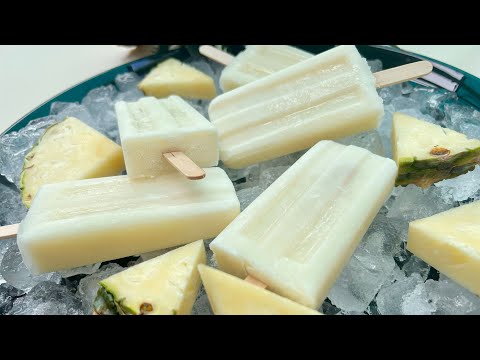
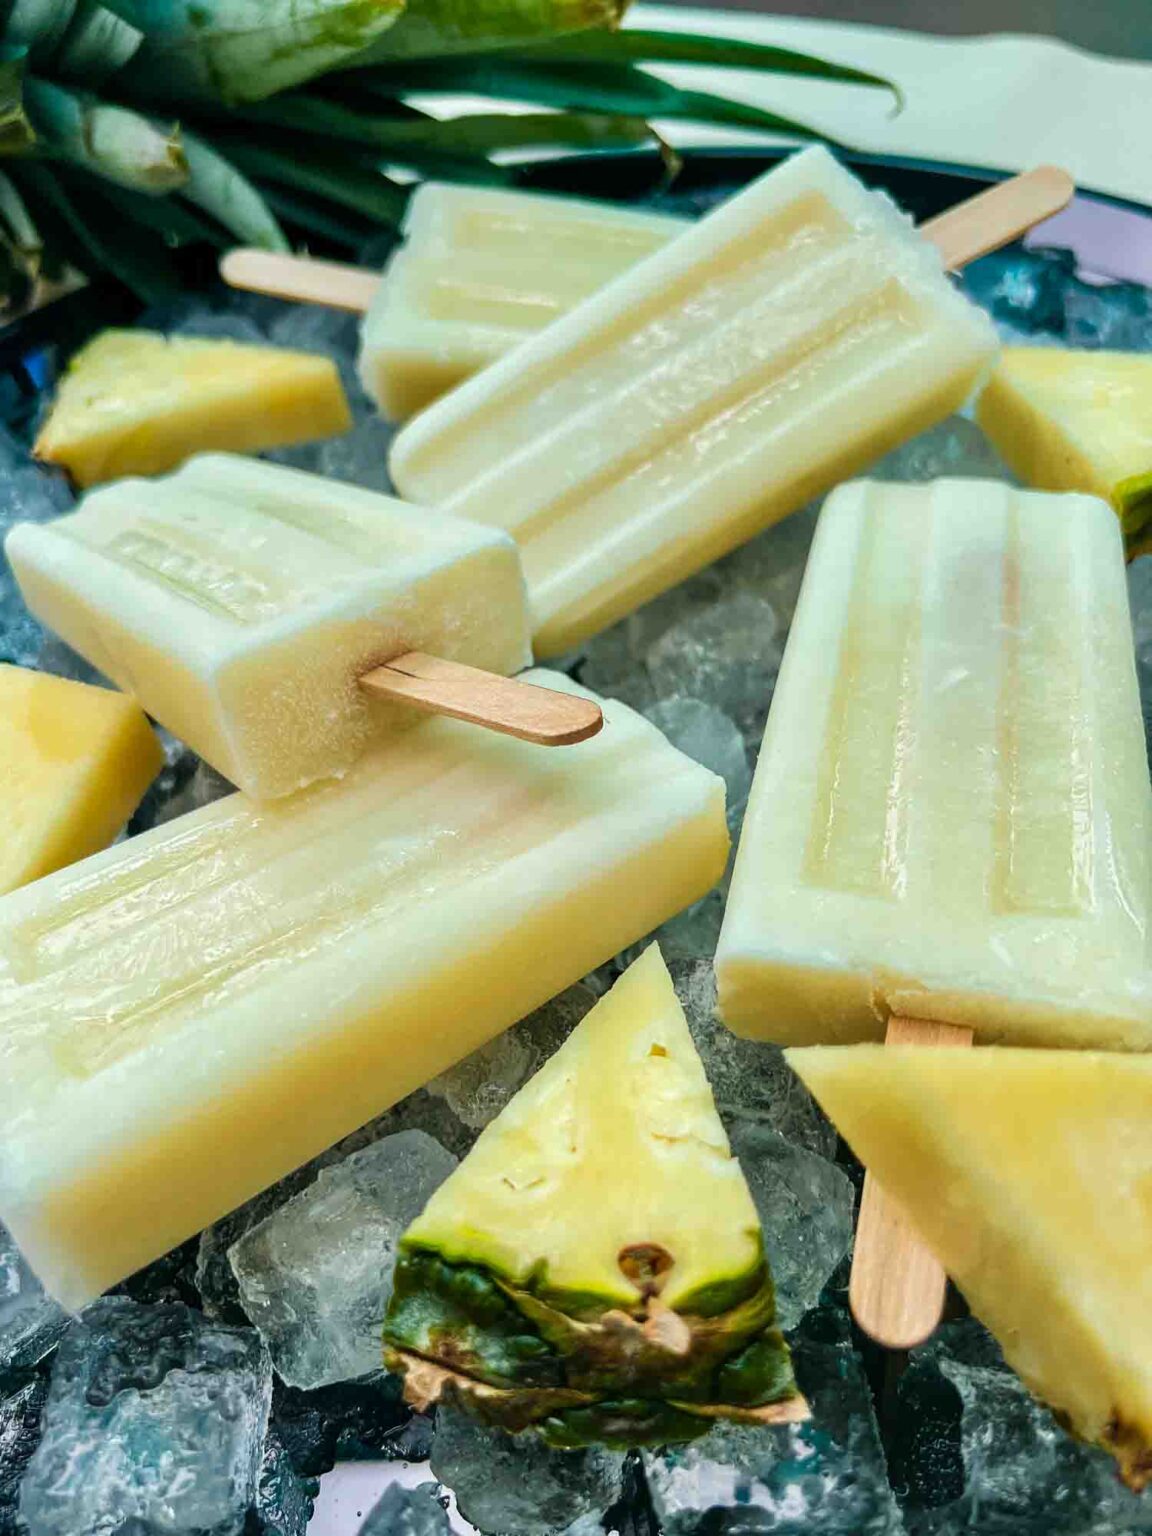
Escape to Paradise with Homemade Pina Colada Popsicles
Description
Cool off with these delicious Pina Colada Popsicles! Made with just four simple ingredients, they bring the perfect balance of creamy coconut and tangy pineapple to your taste buds. Dairy-free, vegan, and naturally sweetened, these popsicles are a healthy and easy-to-make dessert that the whole family will love.
Ingredients
Instructions
-
Add all ingredients to a blender. If you use canned pineapple use the pineapple and juice. Also if this is the adult version, add the rum as well. I usually use non spiced rum, but any rum you like works. Cover with the lid and blend until it is smooth.
-
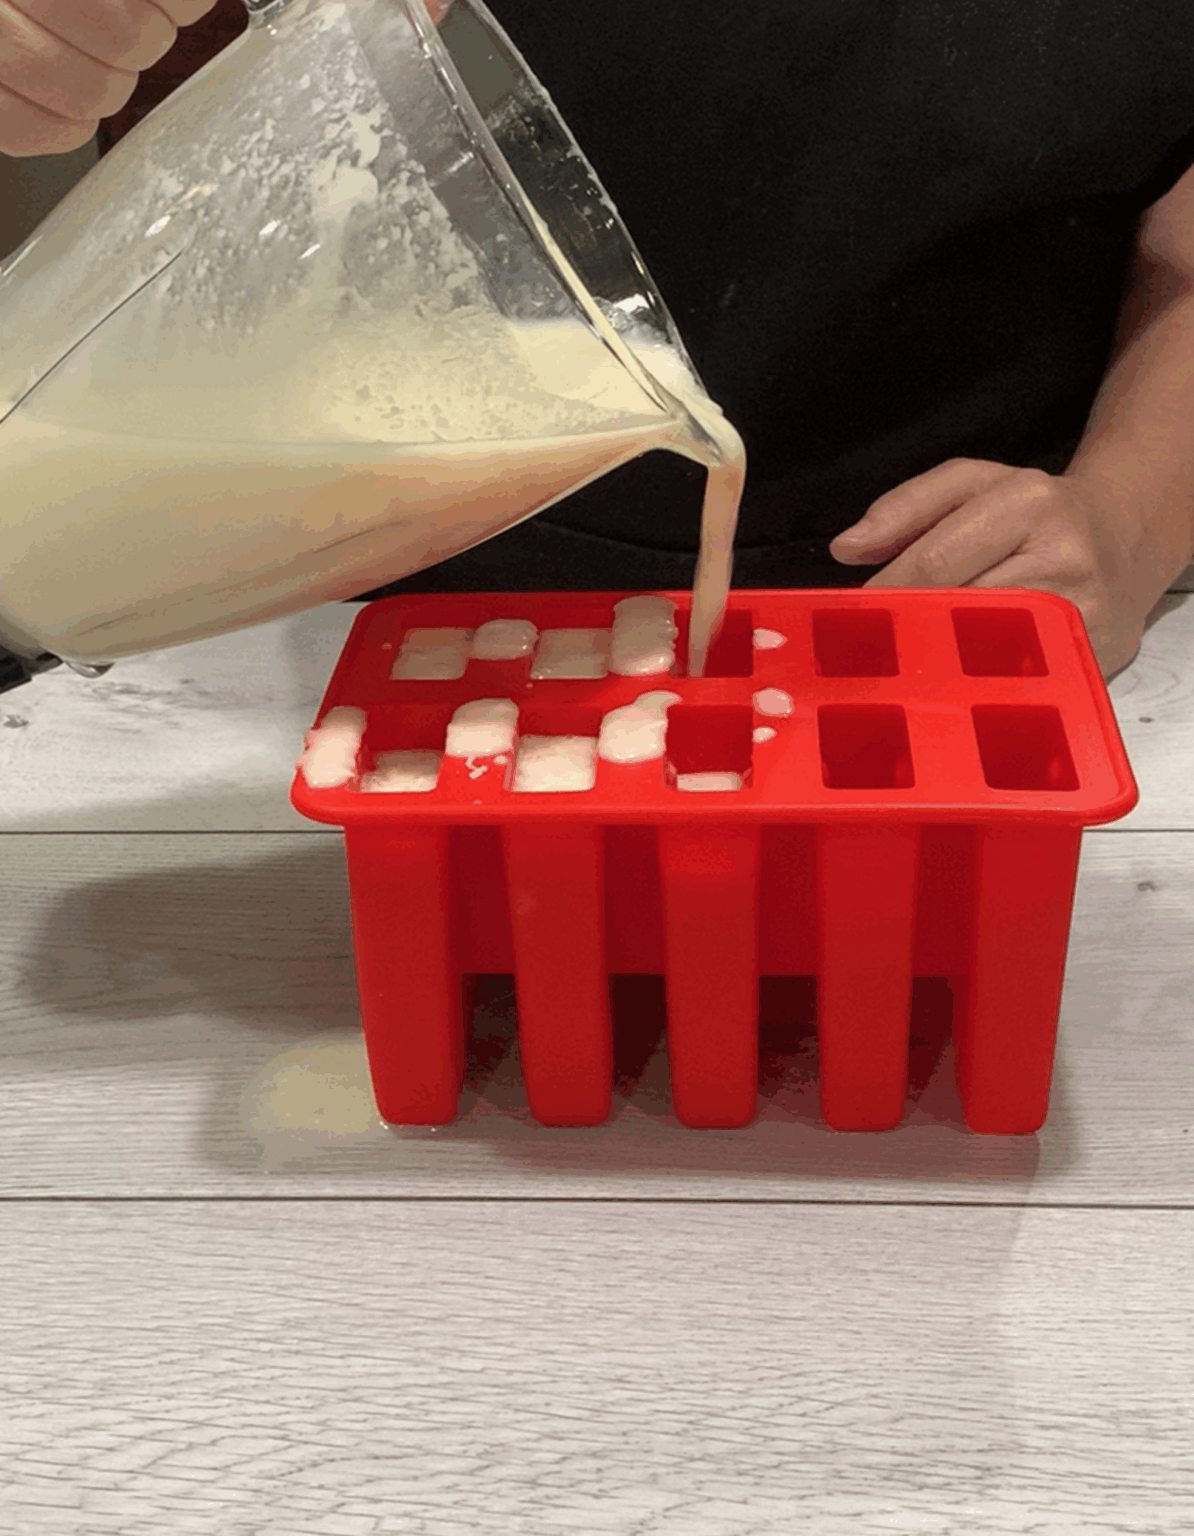
Once blended get your popsicle mold. If you like fruit pieces in your popsicles, you can either cut pineapple in small tidbits and add coconut shavings in the blend, or you can add them by hand while filling the mold. I prefer the later one, because I determine on how much fruit pieces go into each mold.
-
Fill each section close to the top. Wipe off the spills and cover with the lid.
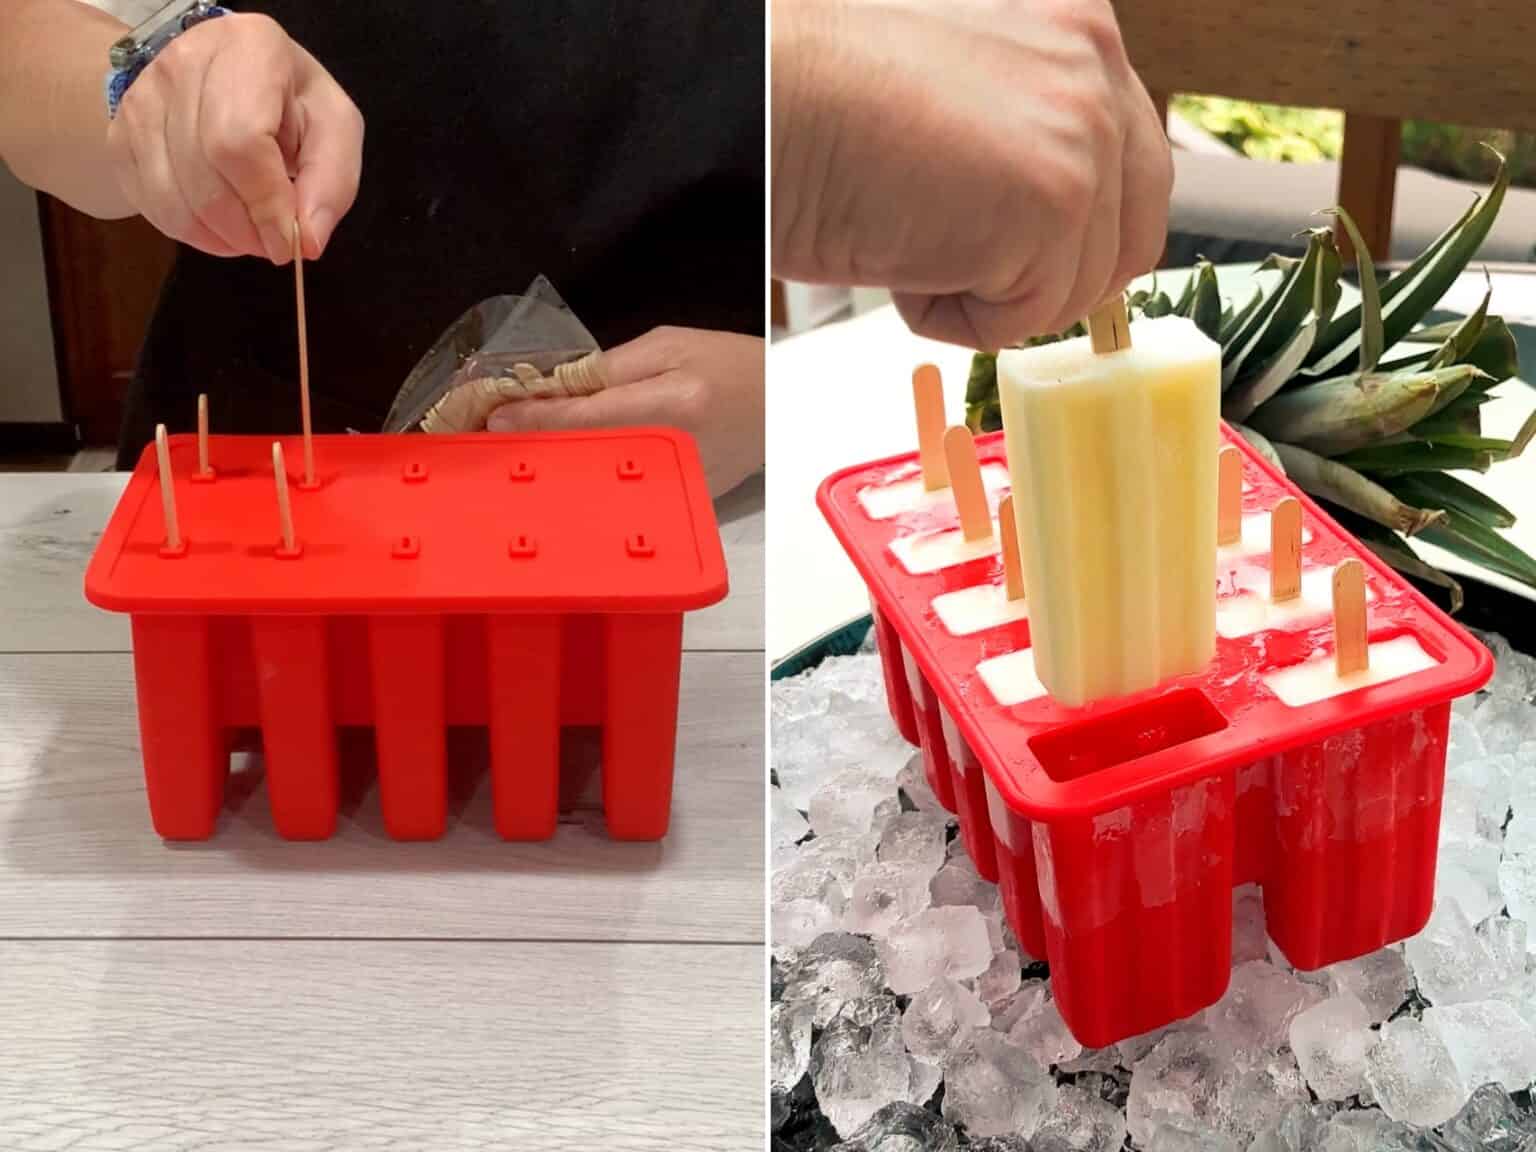
Insert popsicle sticks and freeze for at least 8 hours. Best when frozen overnight.
-
Run some warm water over the mold before pulling them out. I pull them out all at once and then slide them into popsicle bags. I will leave a link for it in the Equipment section.
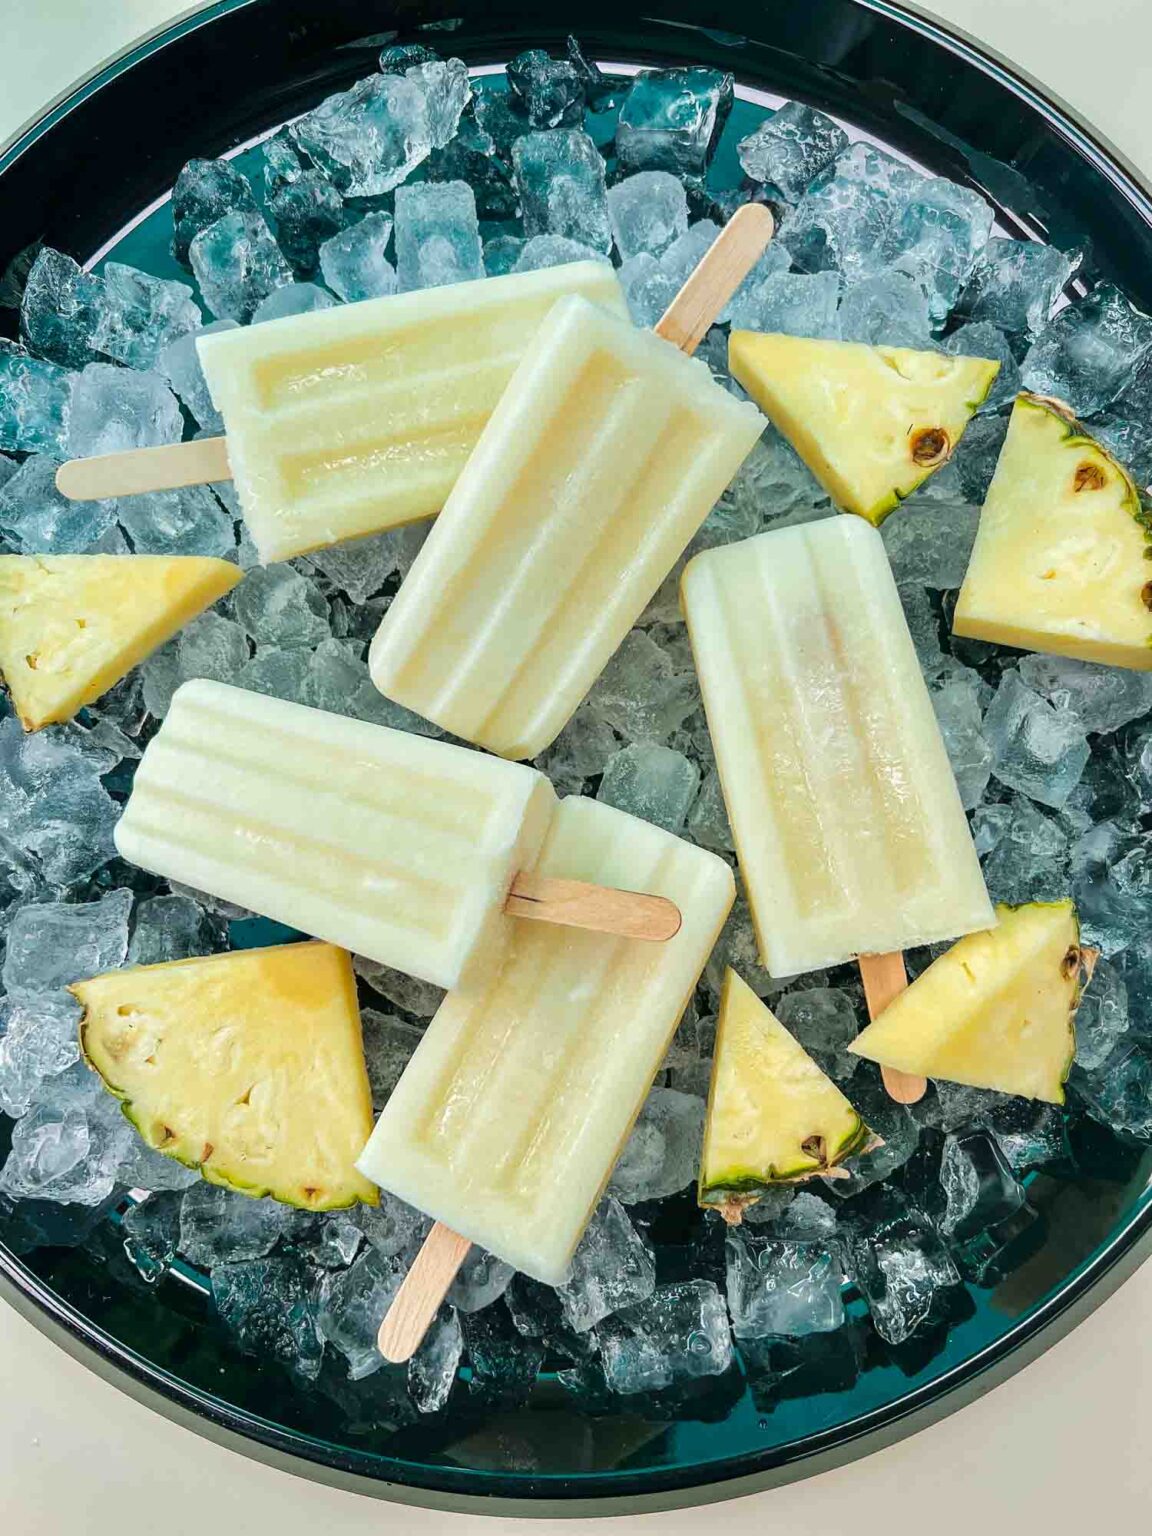
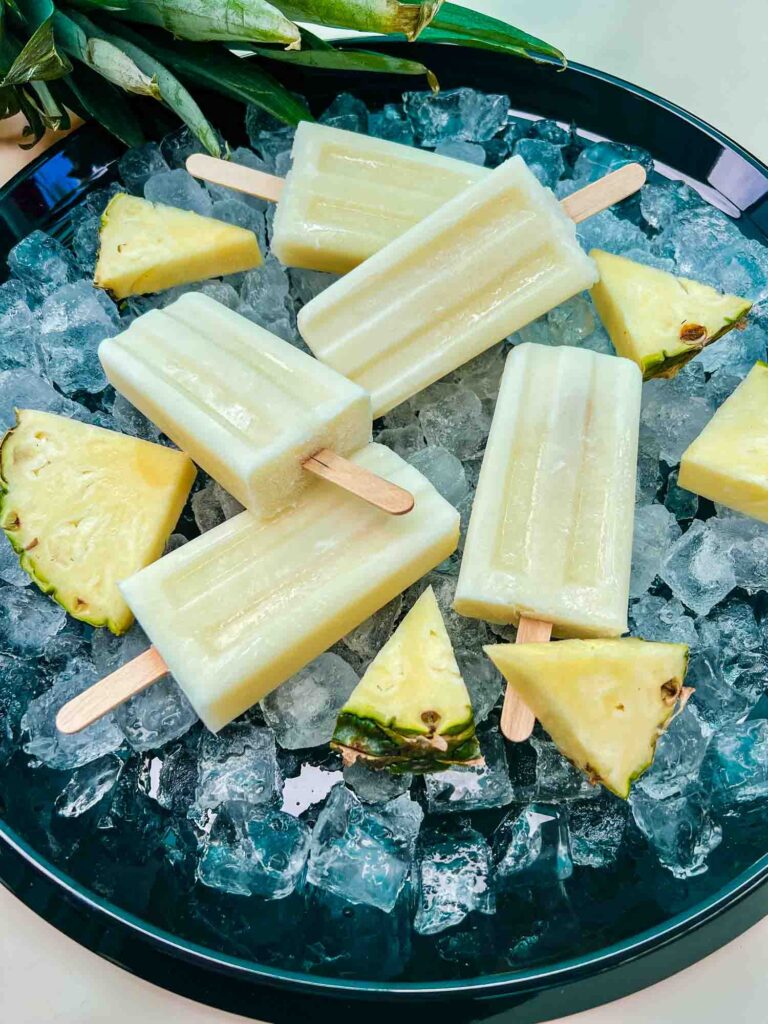
Now enjoy this wonderful fruity treat!