
 Fun Facts About Cherries
- Cherries are packed with antioxidants and vitamin C.
- There are over 1,000 different varieties of cherries grown in the United States.
- The world’s largest cherry pie (over 39,000 pounds!) was baked in Michigan.
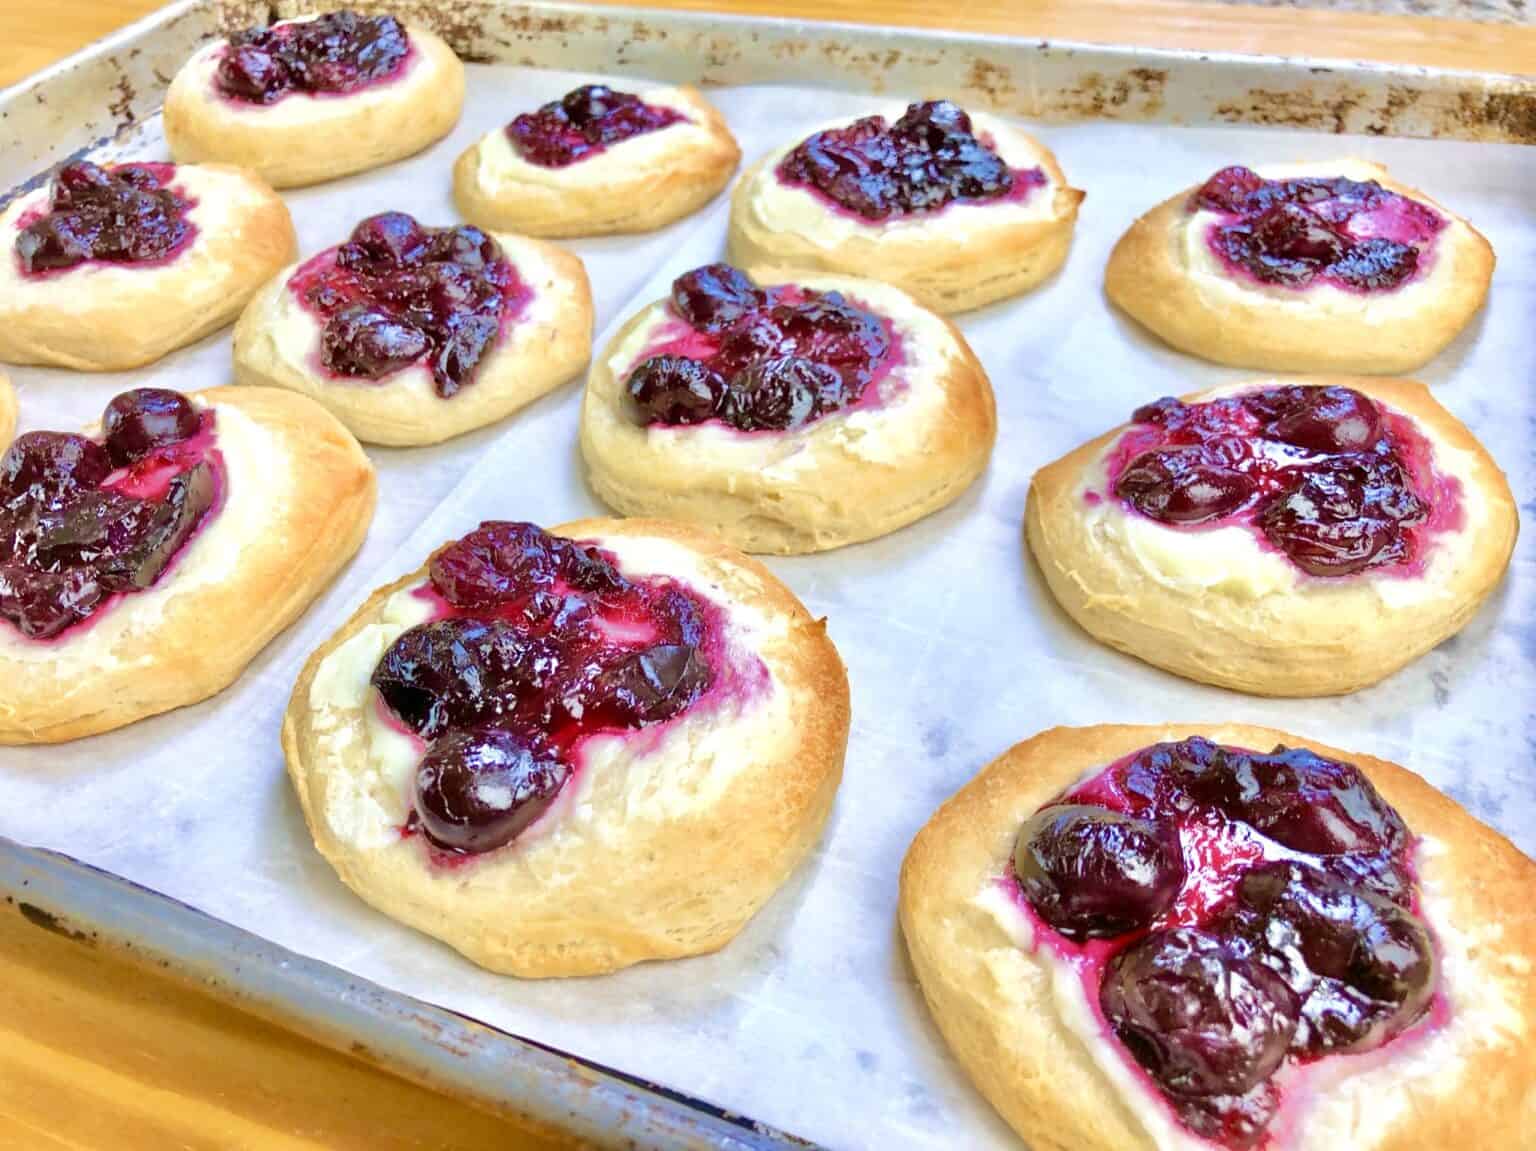
- Cherries are a top choice for summer baking and classic American desserts.
 Tips, Tricks & Recipe Variations
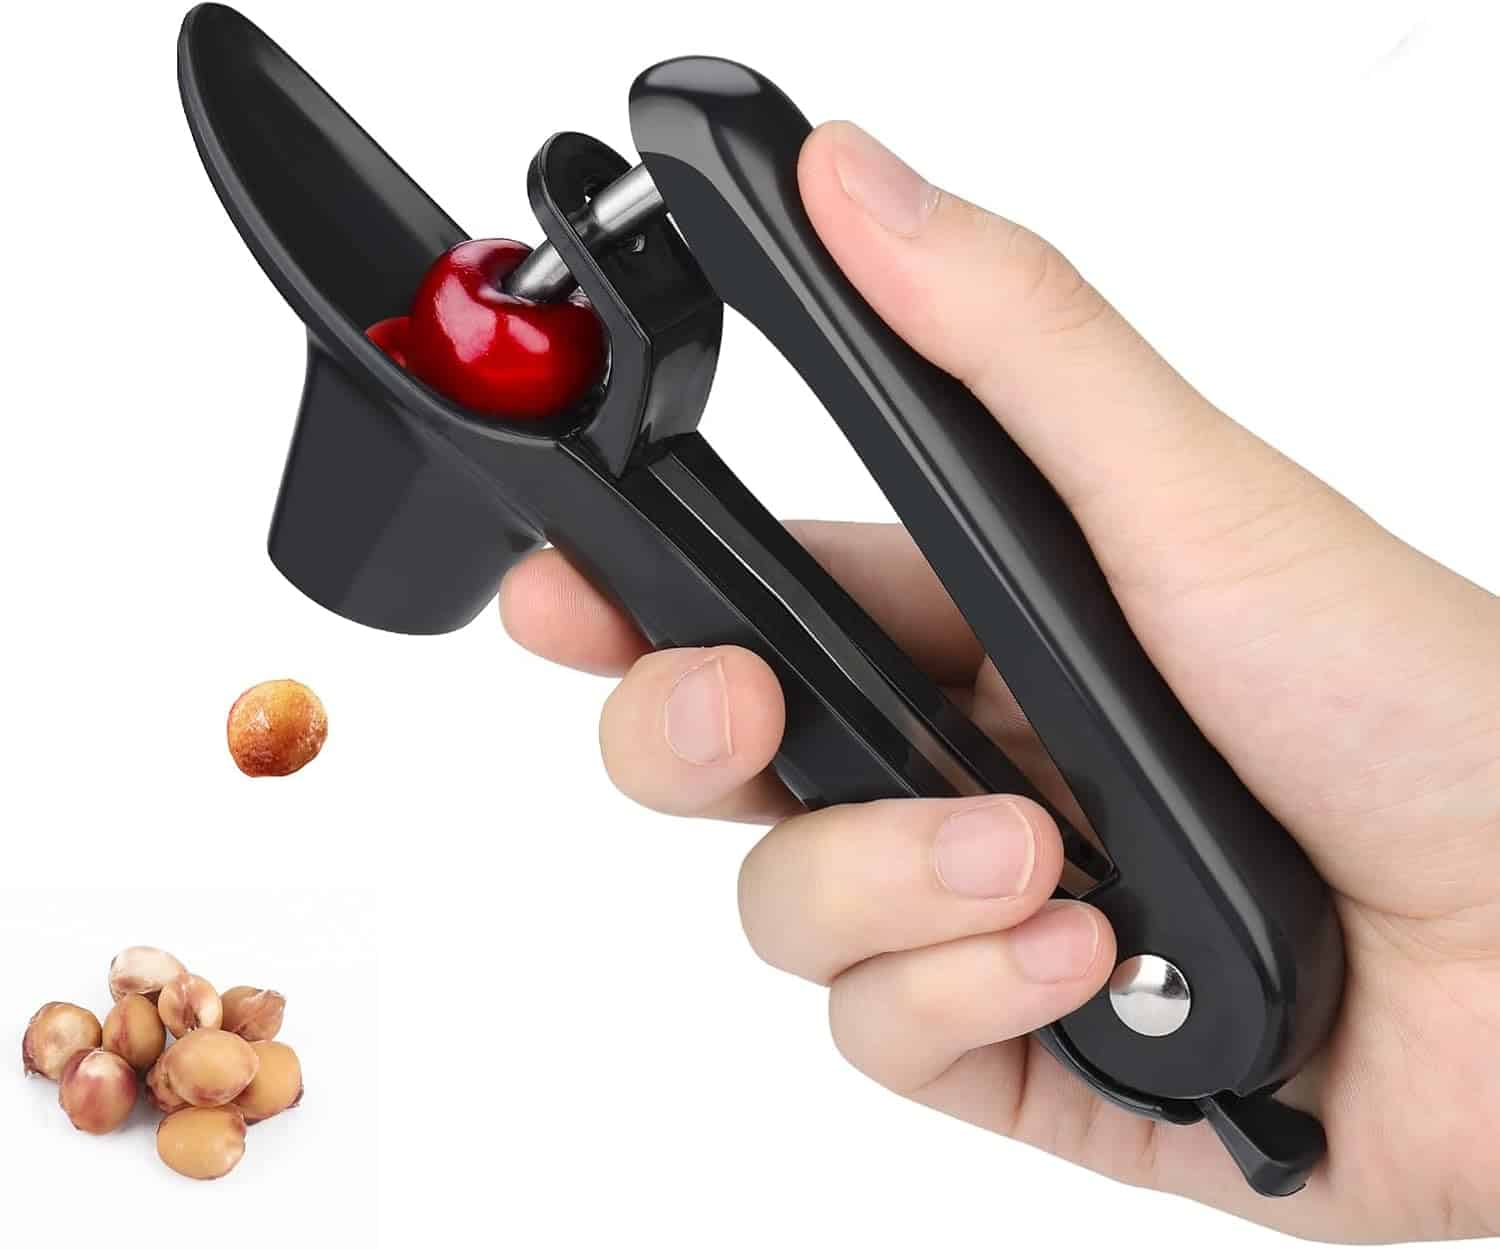
 How to Pit Cherries: Invest in a cherry pitter — it makes the job quick and easy. If you don’t have one, a sturdy straw or chopstick works in a pinch!
- Sweet or Tart Cherries: This recipe works with both, but you may want to adjust the sugar if your cherries are very tart.
- Make Ahead & Storage: The filling keeps well in the fridge for up to a week or can be frozen for up to 3 months, making it perfect for meal prep.
- Flavor Boost: Add a pinch of cinnamon, almond extract, or vanilla for extra depth.
- Make it Sugar-Free: Use your favorite sugar substitute for a diabetic-friendly cherry pie filling.
 Substitutions & Allergy Information
- Cornstarch Alternatives: Arrowroot powder or tapioca starch can be used as a thickener.
- Sugar Alternatives: Substitute with coconut sugar or a sugar alternative for a lower glycemic option.
- Vegan & Gluten-Free: This recipe is naturally vegan and gluten-free, so everyone can enjoy it!
 Storage & Freezing
- Refrigerator: Store in an airtight container for up to 1 week.
- Freezer: Freeze in a freezer-safe bag or container for up to 3 months. Thaw overnight in the fridge before using.
- Meal Prep Tip: Portion the filling into small containers for easy use in breakfasts or desserts.
 Related Recipes
Strawberry Galette Strawberry Cheesecake Cookies Red Berry Pudding – Rote GrützeTry these easy fruit dessert recipes for more summer inspiration!
Homemade Cherry Pie Filling – Easy, Fresh & Perfect for Desserts
Description
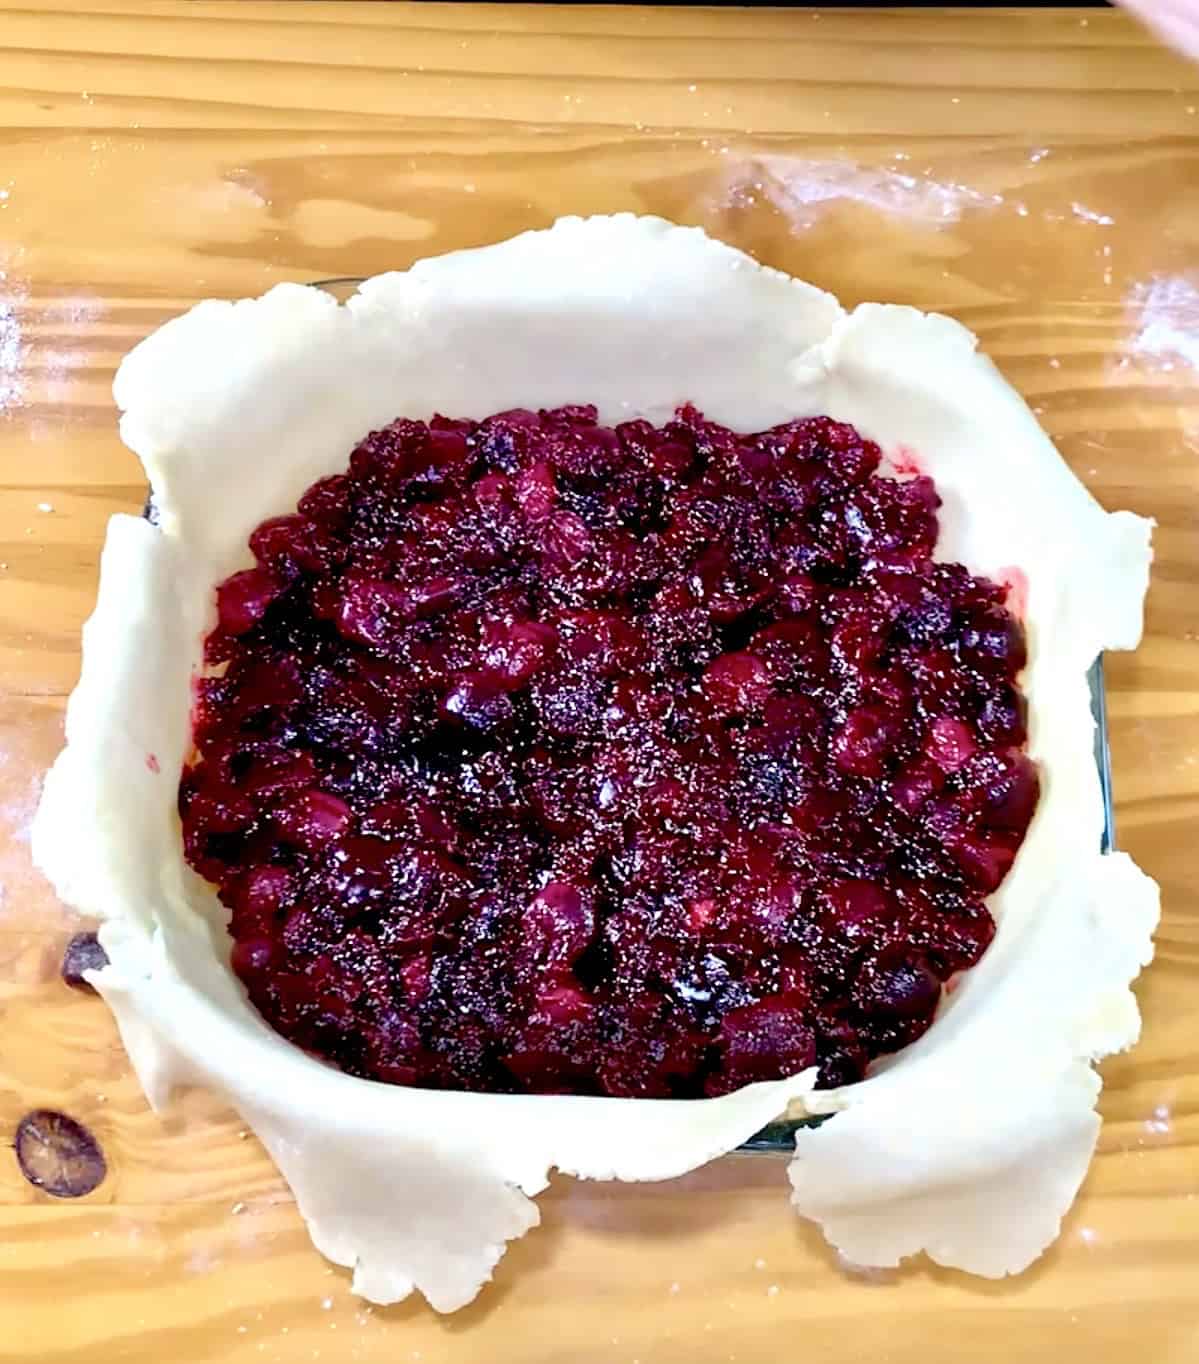
Make your own cherry pie filling from scratch with just a handful of ingredients. Perfect for pies, desserts, and more!
Ingredients
Instructions
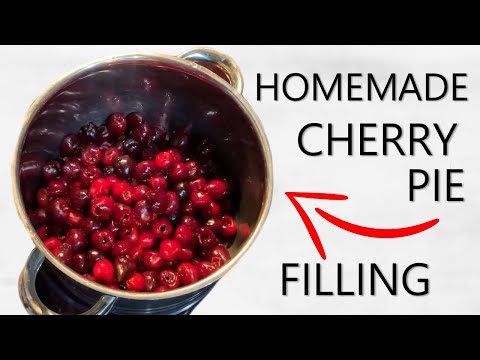
Video
-
Pit the Cherries: Remove the pits from all cherries. This is essential for a smooth, enjoyable filling (and to protect your teeth!).
-
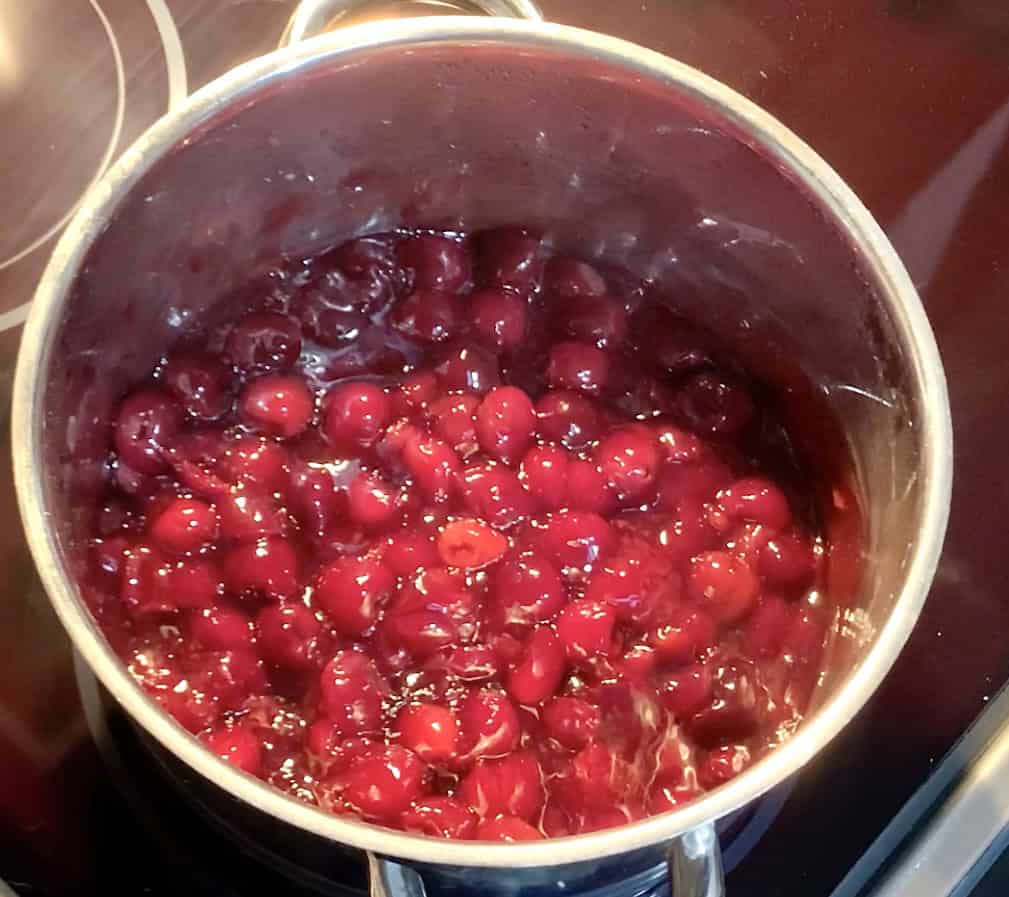
Combine Ingredients: In a medium saucepan, combine the pitted cherries, sugar, salt, lemon juice, and water. Stir well.
-
Cook: Bring the mixture to a gentle simmer over medium heat, stirring occasionally. Let the cherries release their juices—about 5–7 minutes.
-
Thicken: In a small bowl, mix the cornstarch with a tablespoon of cold water to make a slurry. Slowly pour the slurry into the simmering cherries while stirring constantly.
-
Simmer: Continue to cook for 2–3 minutes, until the filling thickens and becomes glossy.
-
Finish: Remove from heat and stir in the vanilla extract. Let cool before using.
cherry pie filling, homemade, cherry recipe, pie, dessert, easy, beginner-friendly, gluten-free, vegan, summer, fruit, baking, easy cherry pie filling, best cherry pie filling, fresh cherry dessert, how to make cherry pie filling, cherry topping