
 Fun Facts about Crusty Bread
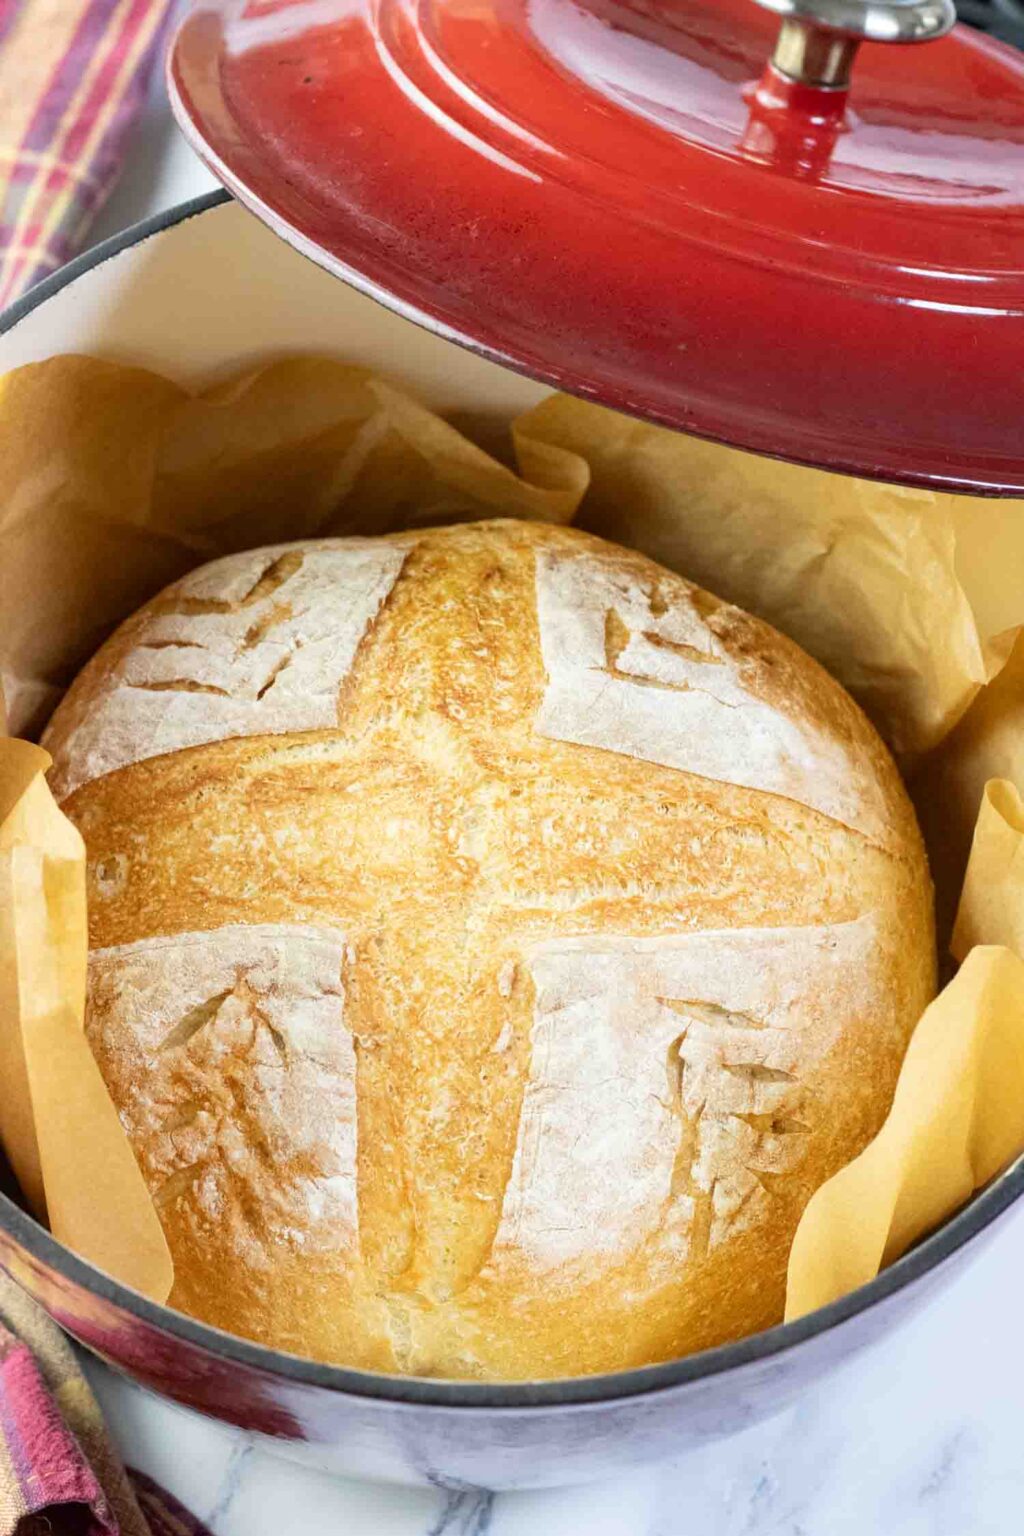
- The dutch oven acts like a mini steam oven, which is key to achieving that iconic crust.
- Artisan bread is often called “no-knead bread” because of its simple preparation method.
- The recipe’s simplicity allows you to experiment with add-ins like herbs, seeds, or dried fruit.
- Ancient Origins: The earliest evidence of breadmaking dates back over 14,000 years, long before agriculture became widespread. Early breads were made with wild grains and cooked on hot stones.
- The crispy crust forms due to the Maillard reaction, a chemical process that occurs when proteins and sugars in the dough are exposed to high heat.
- Minimal Ingredients, Maximum Flavor: Artisan bread relies on the fermentation process to develop its flavor. The longer the dough rests, the more complex and nuanced the taste becomes.
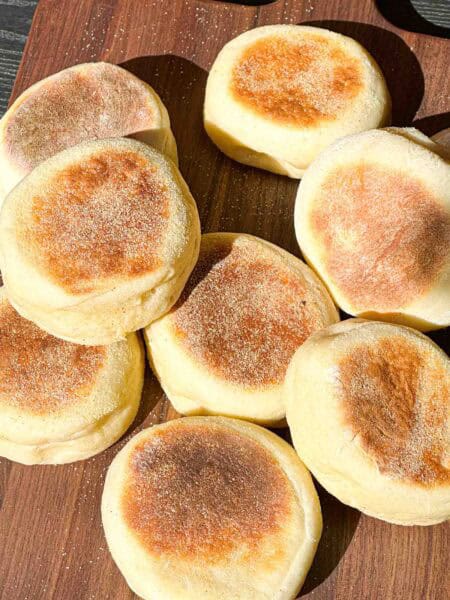
- Variations of crusty bread can be found in almost every culture, from French baguettes to Italian ciabatta and German sourdough loaves.
- “No-Knead” Revolution: The no-knead bread technique, popularized by Jim Lahey in the early 2000s, made artisan bread accessible to home bakers without the need for intensive kneading.
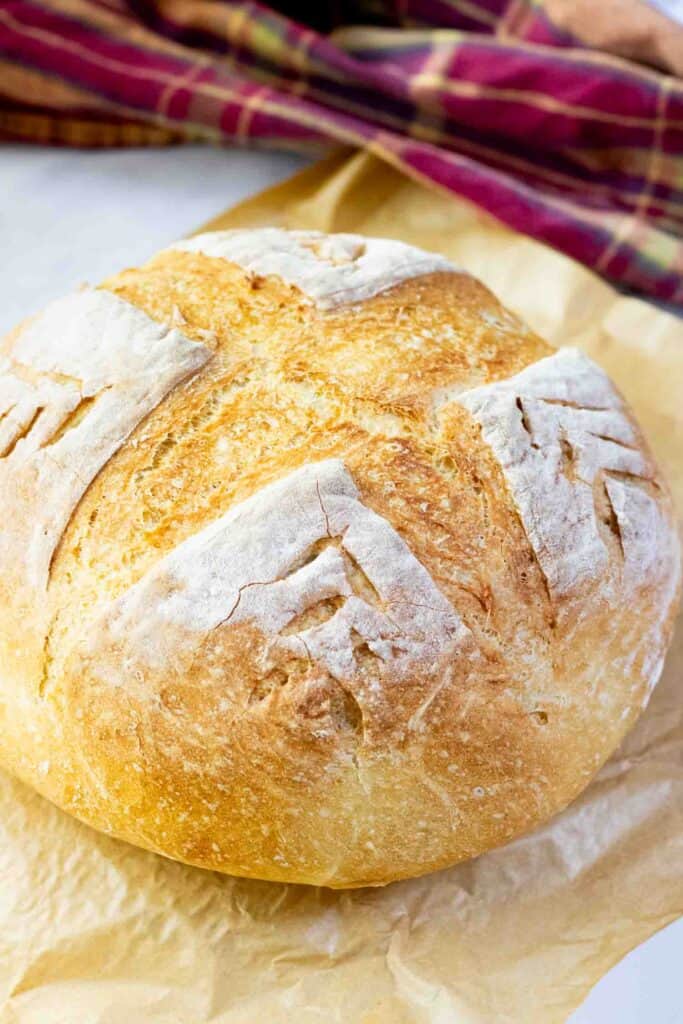
- Bread Art: Some bakers turn artisan bread into edible art by scoring intricate designs into the dough before baking. This scoring also helps the bread expand evenly in the oven.
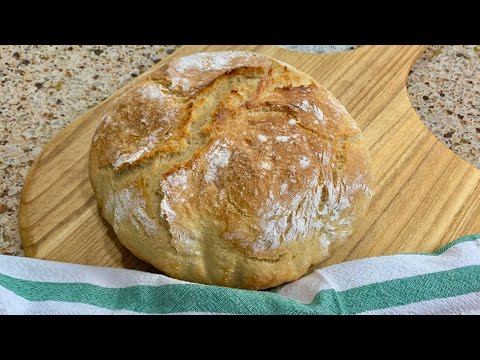
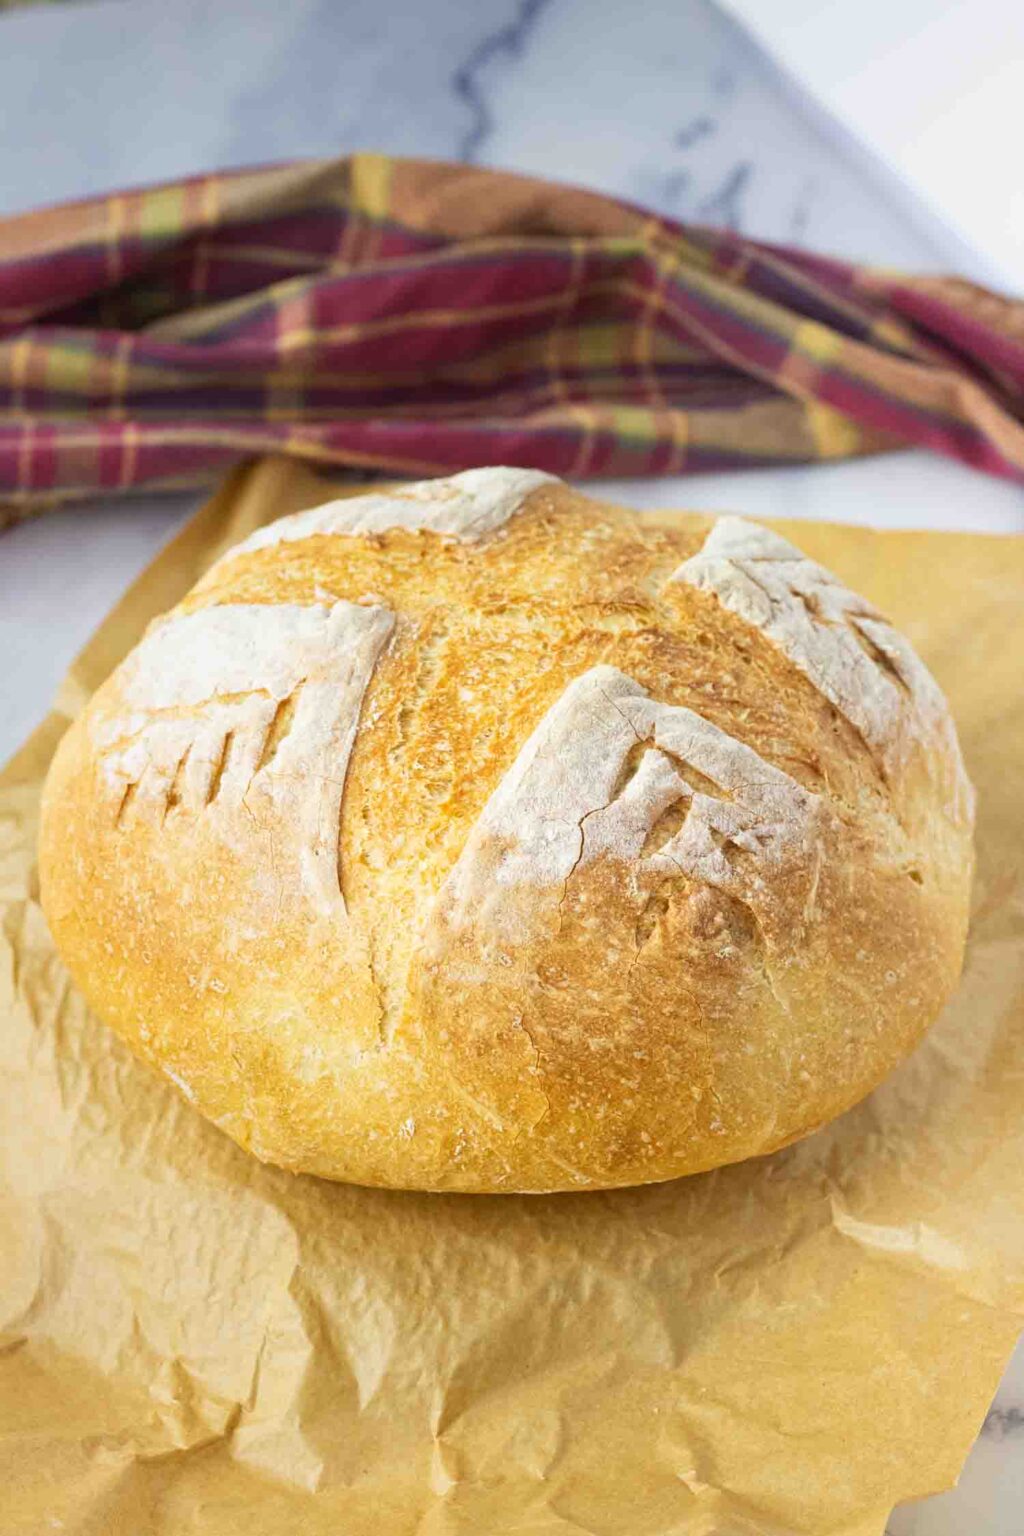
Perfect Crusty Bread Recipe – Artisan Bread with Just 4 Ingredients
Description
This artisan bread recipe uses only salt, water, flour, and yeast to create a perfectly crusty loaf baked in a dutch oven.
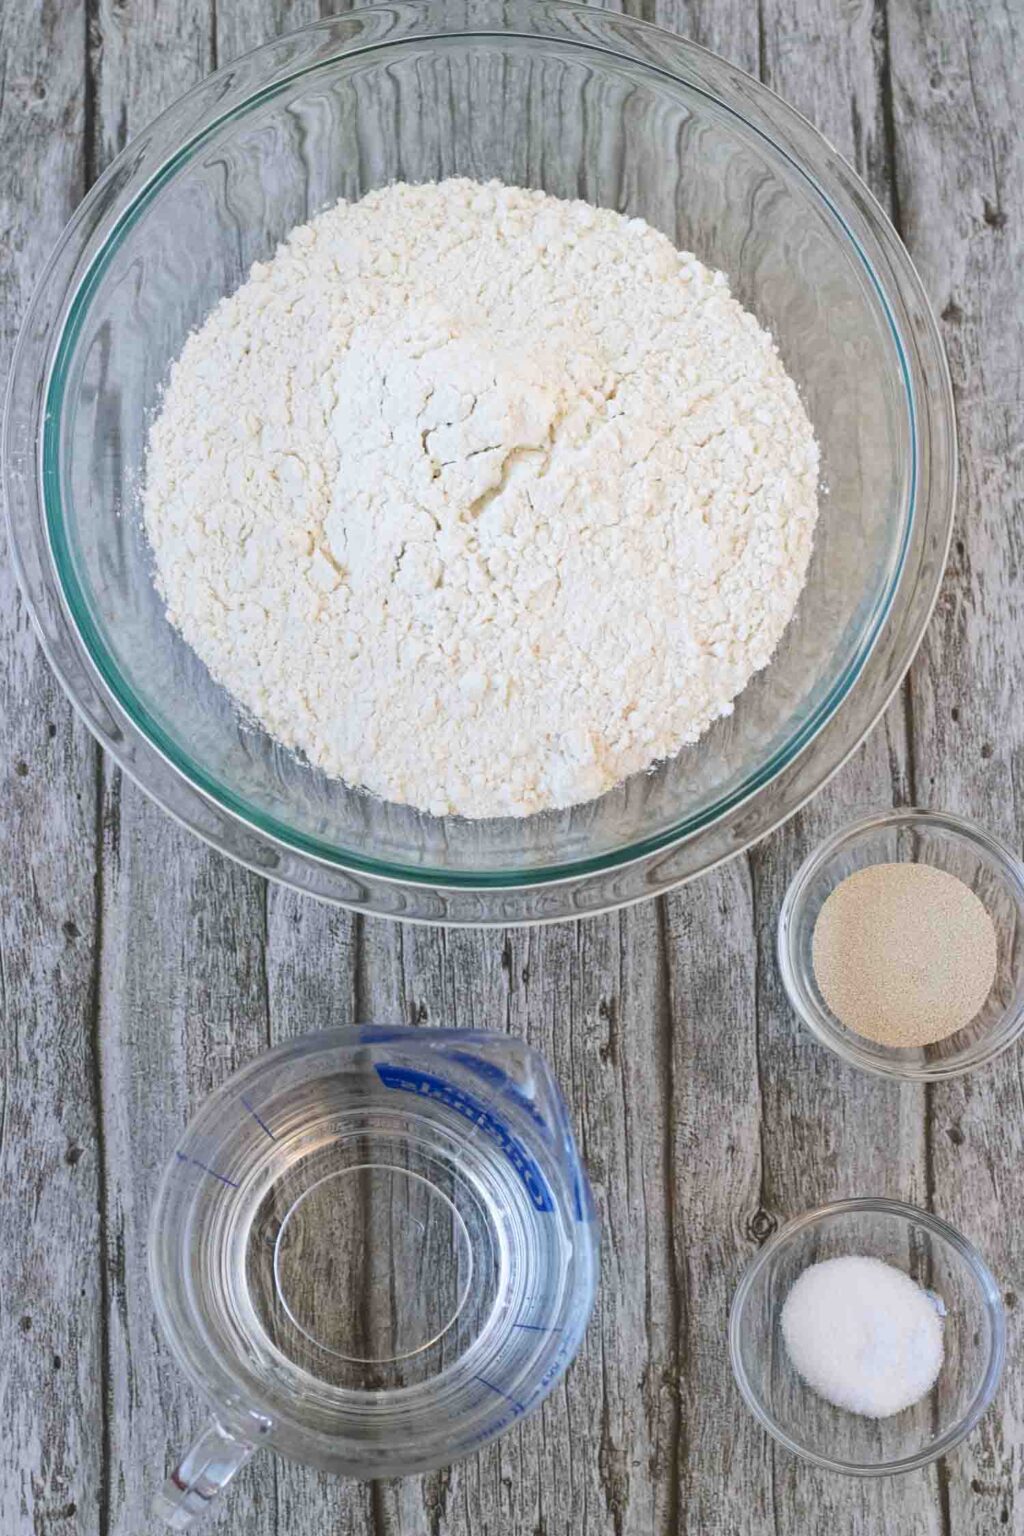
Ingredients
Instructions
-
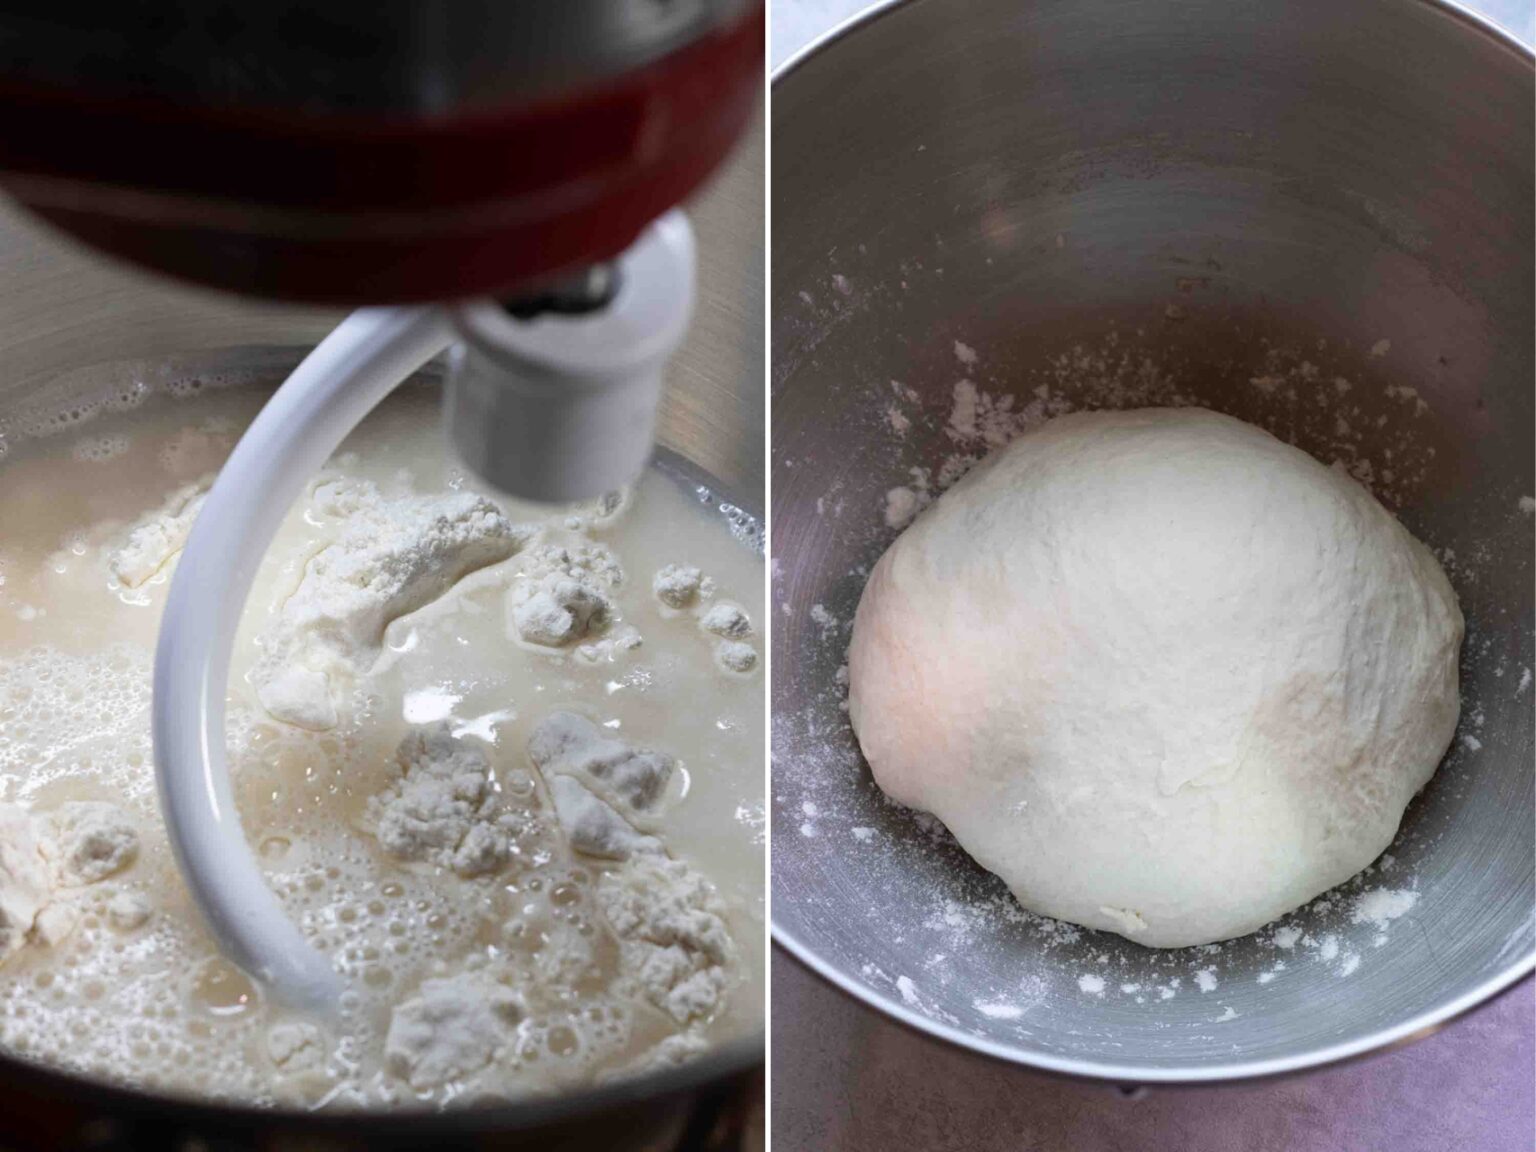
Combine flour, yeast, salt and water in a large mixing bowl.
Use a stand mixer and knead for 5 minutes. You can also knead this by hand.
-
Form the dough into a ball and put it back into the mixing bowl. Cover the bowl with a kitchen towel and let rest for at least 30-40 minutes or until the dough doubled in size.
-
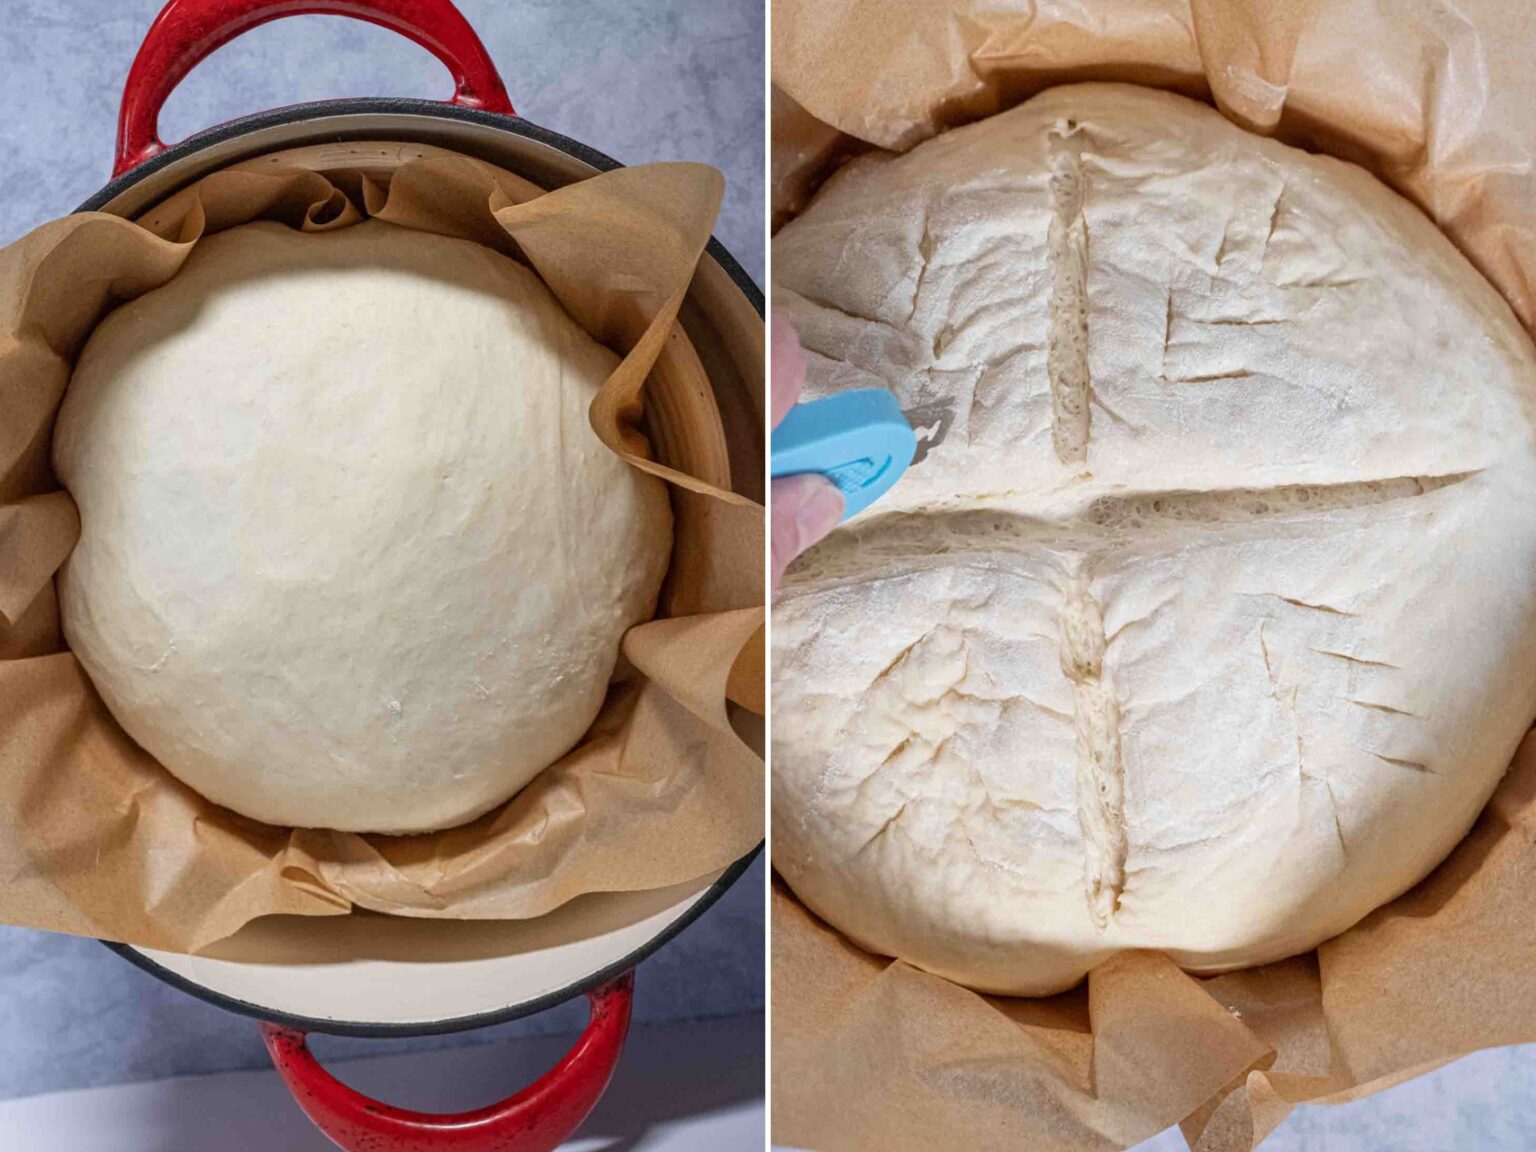
Pre-heat oven to 450°F. Place your dutch oven in as well so it heats up as the oven is heating.
-
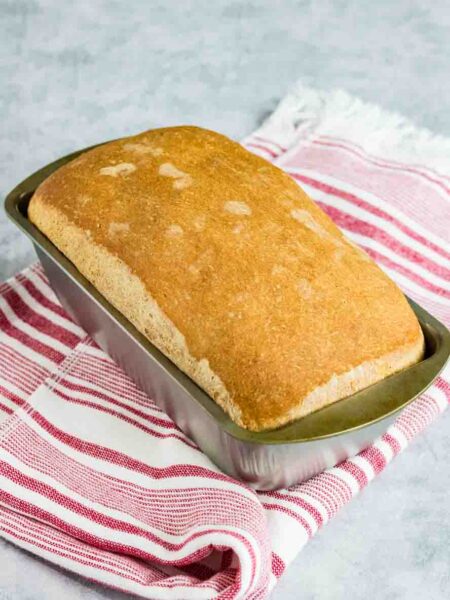
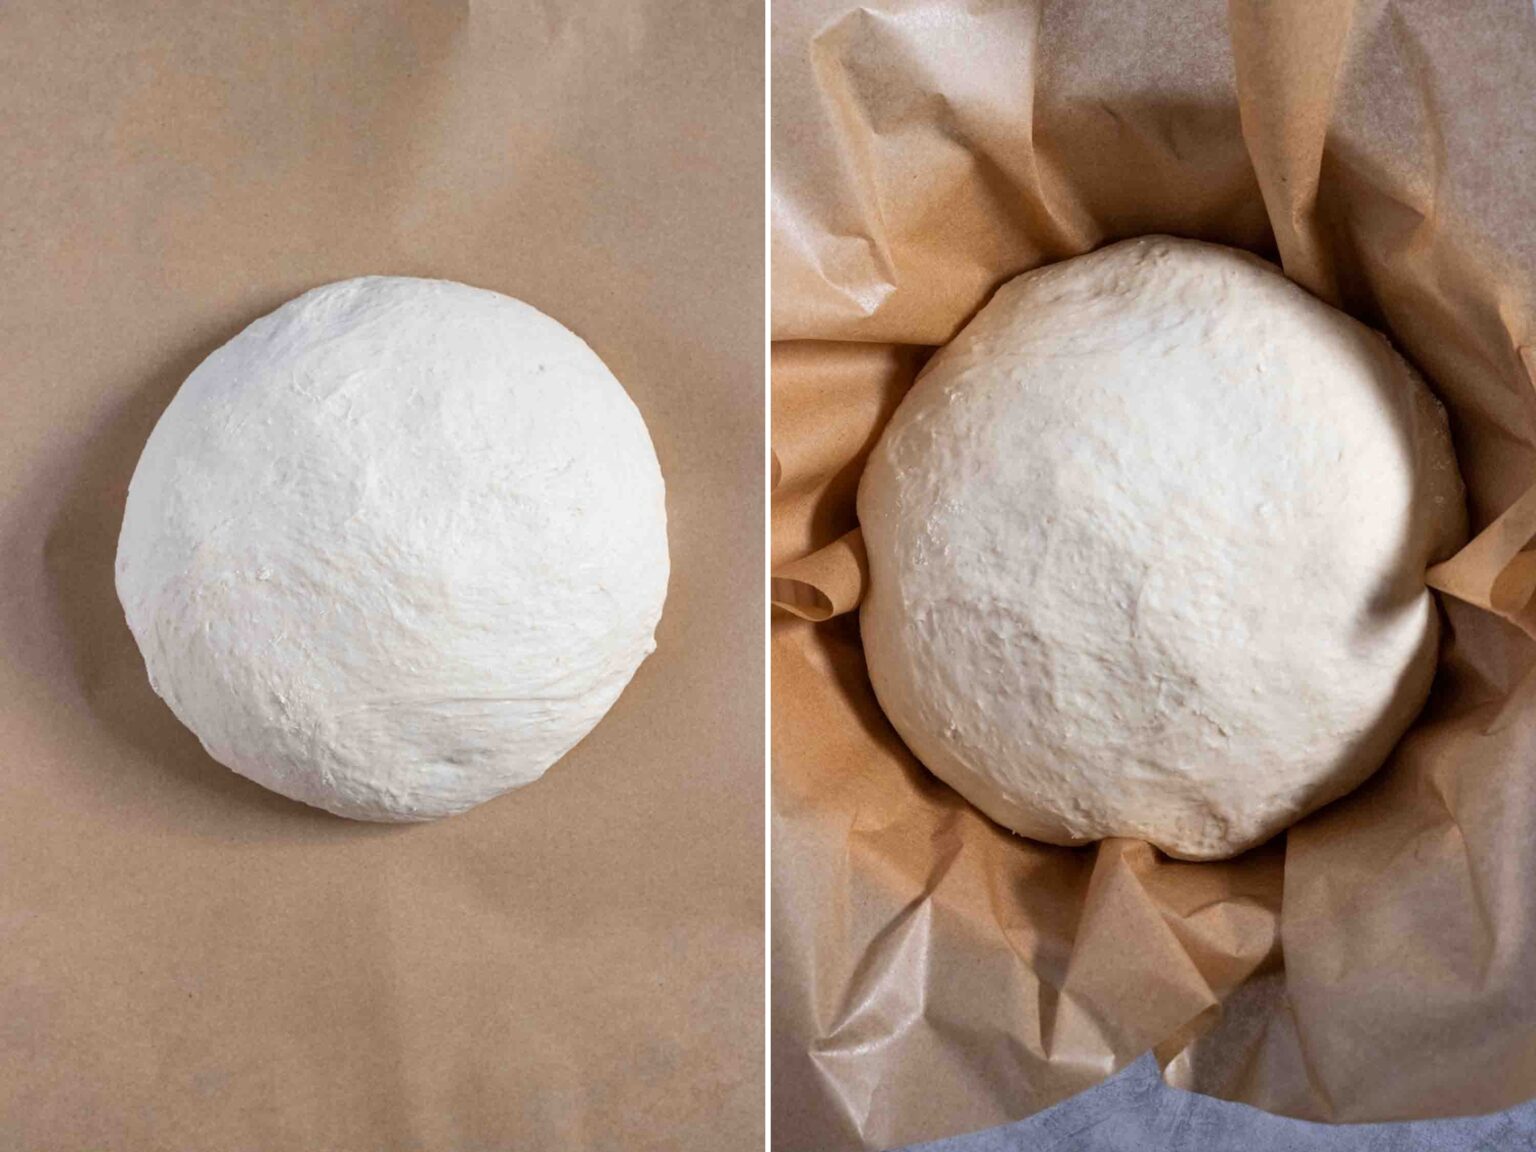
Turn the dough onto a floured surface and form it either into a ball or loaf. Whatever shape you want.
Place it onto a parchment paper and lift it into a bowl or banneton.
Let it rise for 30 minutes.
-
Score the bread and place it carefully into the hot dutch oven. Close the lid and bake for 30 minutes.
-
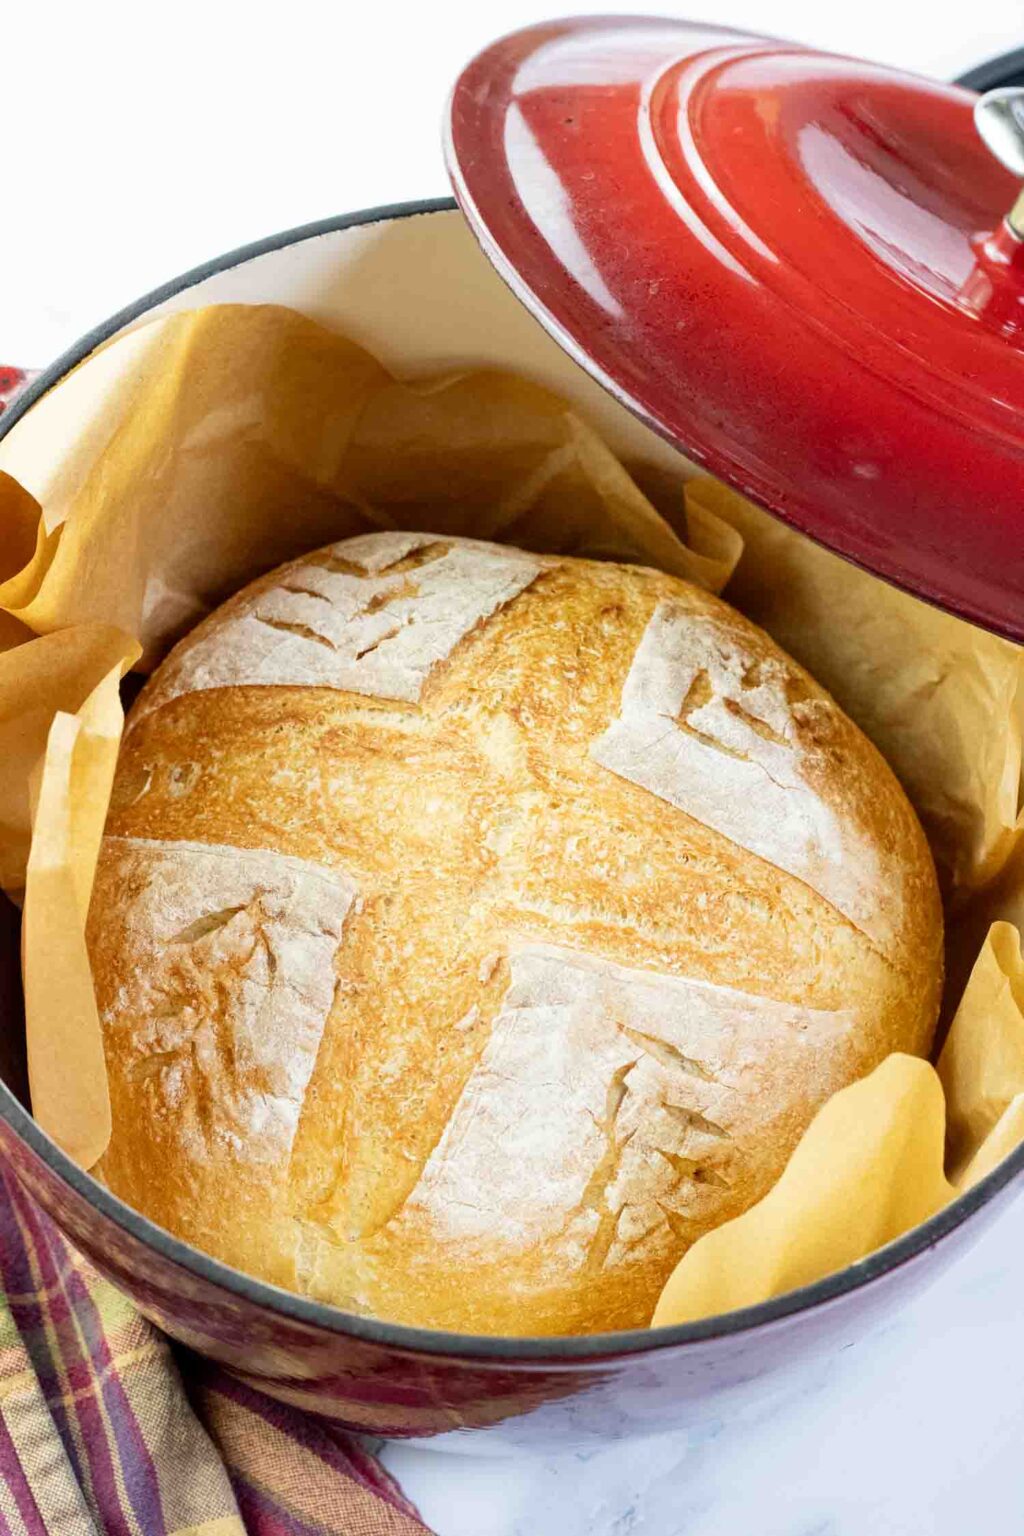
After 30 minutes remove the lid and bake for another 10 minutes to get a golden brown crust.
-
Take the bread out of the dutch oven and let it cool on a rack. Wait at least 10 minutes before slicing.
Enjoy!