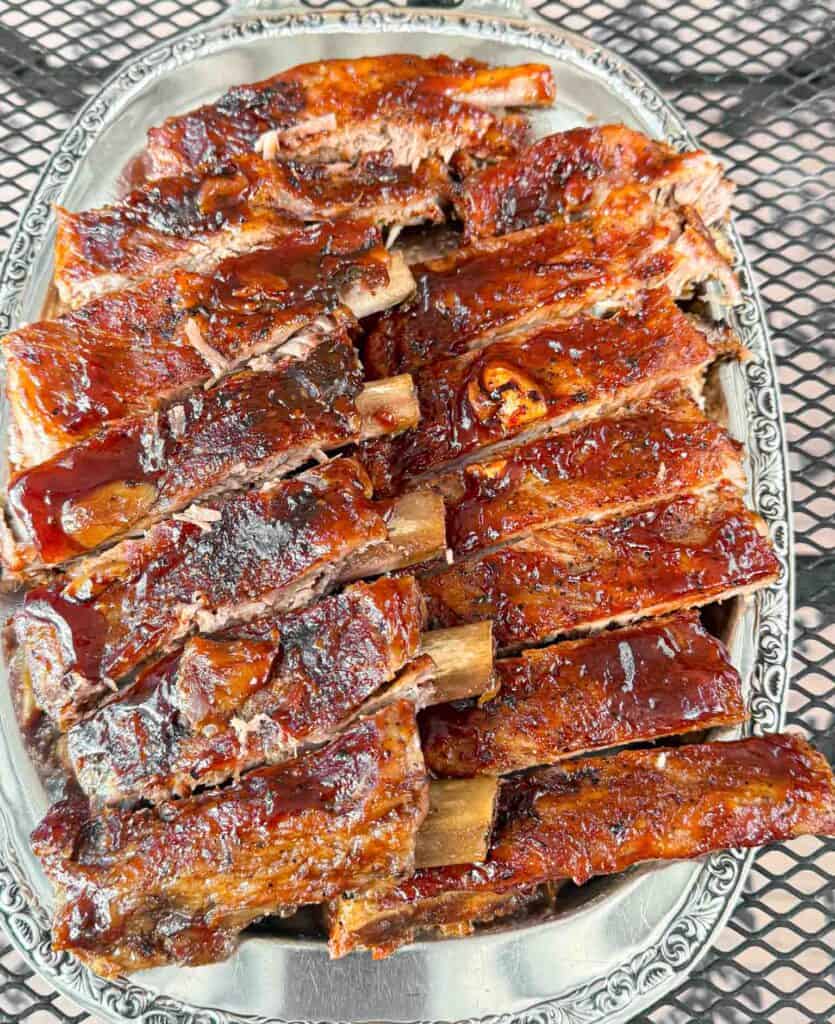
These oven-baked ribs are tender, juicy, and slathered in sticky BBQ sauce — and the only thing you need to make them is a low oven, a little patience, and a few simple ingredients. And if you want to skip the homemade BBQ sauce and reach for your favorite bottle from the store — I've got you covered on that too. No smoker. No grill. No babysitting anything for hours in the backyard. Just fall-off-the-bone ribs that come out of your kitchen smelling like an absolute dream.
If there are two people in your house who will lose their minds over a plate of ribs, make this recipe. I have exactly two of those people — their names are Manny and Kevin, and they have both been very vocal about how often this needs to happen.
Low effort, high reward — that's exactly what this recipe is all about.
I want to tell you that this recipe came to me through some long and thoughtful culinary journey. It did not. It came to me because Kevin and Manny have a very strong, very consistent opinion about ribs, and they made sure I knew it.

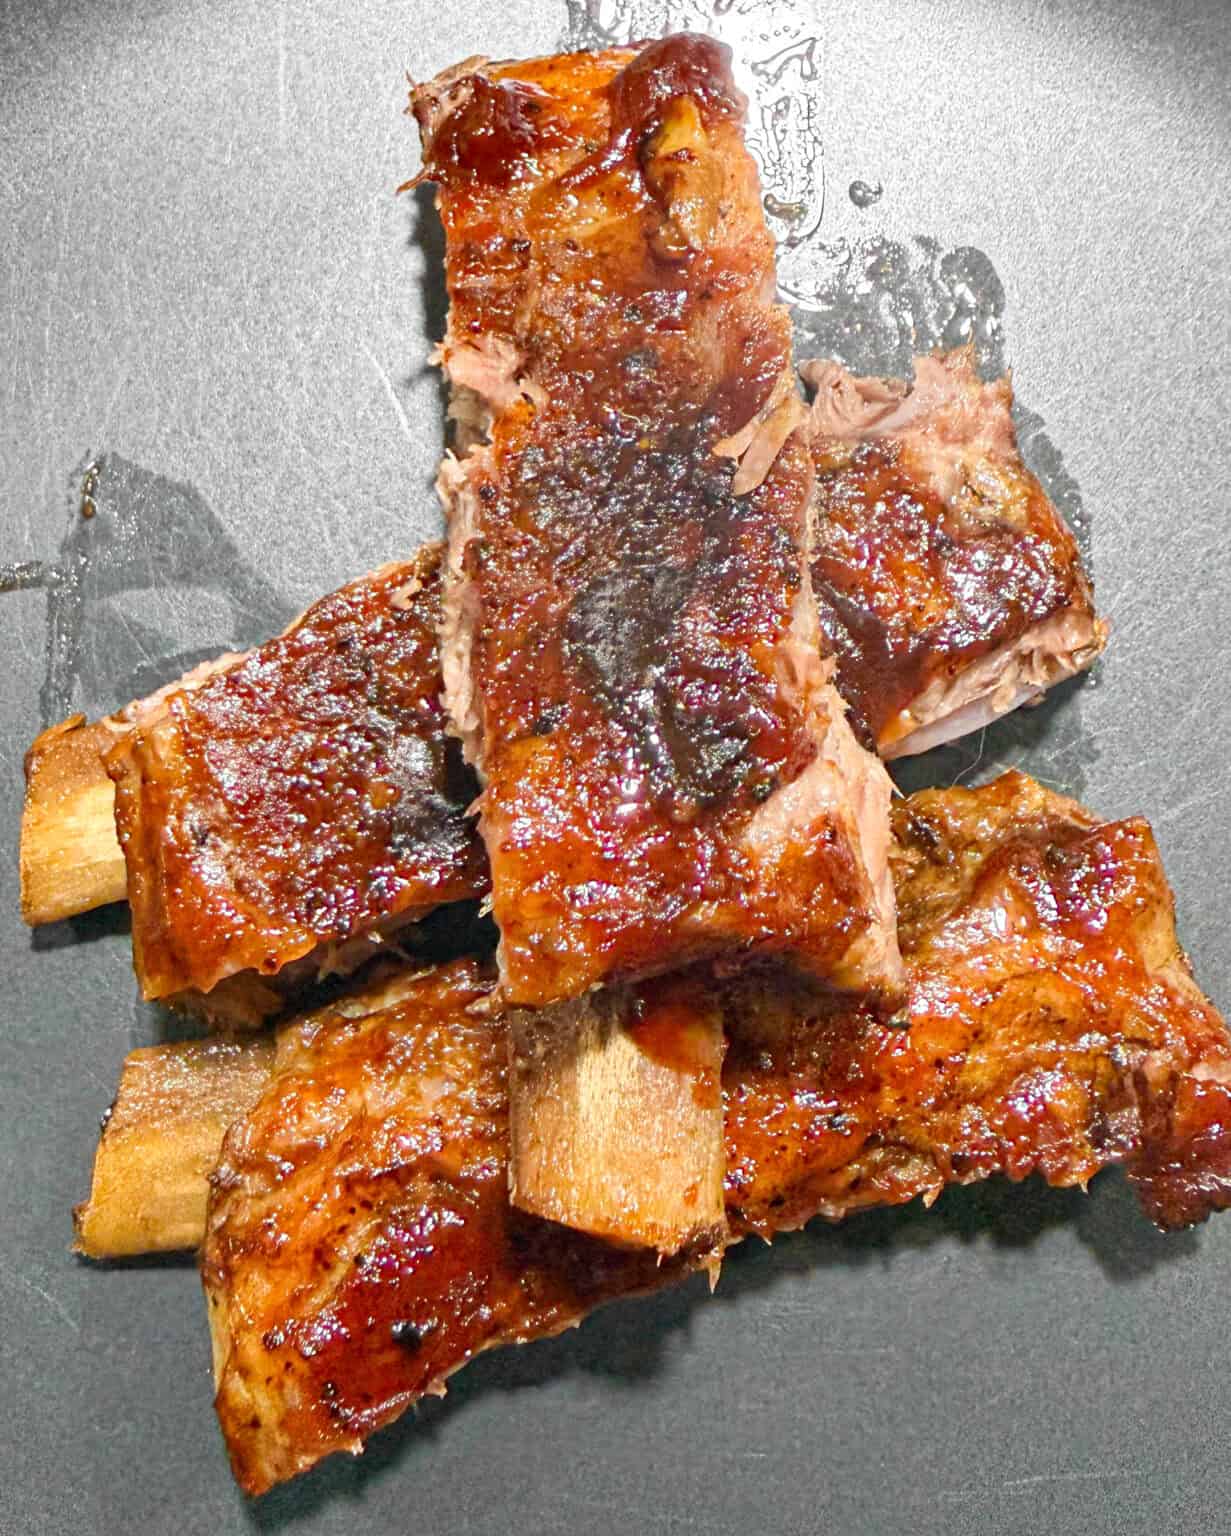
I had made these oven baked pork loin back ribs one evening — low and slow, sealed tight in foil, the whole kitchen warming up with that deep, savory smell that makes everyone wander in asking what's for dinner. By the time the ribs came out, brushed with BBQ sauce and slid under the broiler until the glaze was sticky and caramelized, both of them were standing in the kitchen with that look on their faces.
You know the look. The one that says they're trying to act patient but absolutely are not.
Manny went quiet for a full minute after his first bite. Manny is not a quiet man. Kevin ate more than I am going to put in writing here, and then looked up and said — completely seriously — "these need to be on rotation."
And so they are. They are very much on rotation.
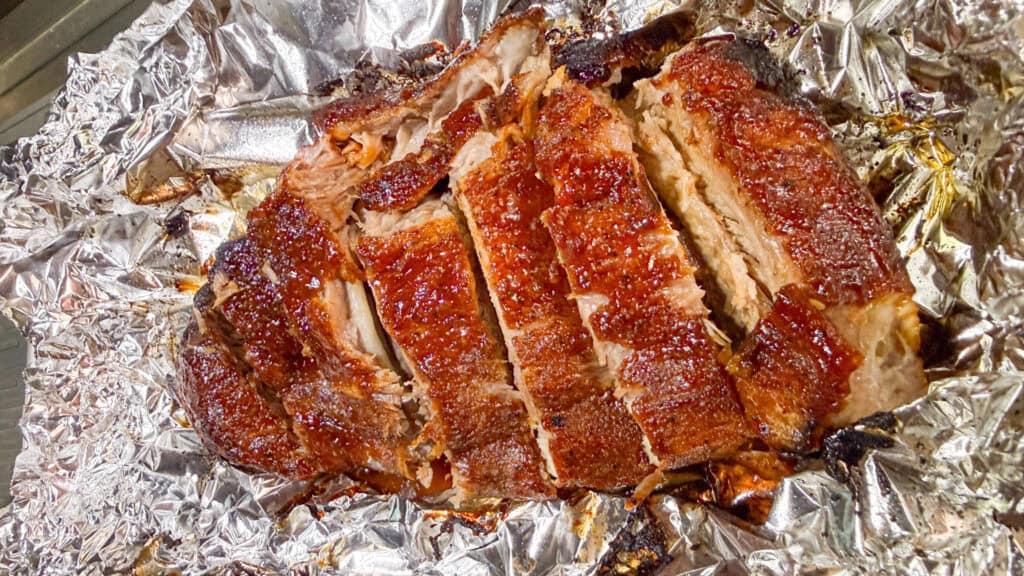
The secret is no secret at all, really — low heat, a long slow bake sealed in foil, and a good BBQ sauce brushed on at the end. That's it. The oven does everything. You just have to be patient enough to let it.

Here's the great news — this recipe is not picky about which cut of ribs you use. The low and slow method works beautifully across the board, so use whatever your store has or whatever your family loves most. I usually reach for pork loin back ribs, but honestly any of these work wonderfully:
Pork Loin Back Ribs (Baby Back Ribs) — These two names refer to the same cut and you'll see them used interchangeably at the grocery store. They come from the upper back of the pig right next to the loin, which makes them naturally tender and meaty with a slightly leaner profile. They're a great all-around choice and what I most often use for this recipe.
Spare Ribs — Cut from the lower portion of the rib cage, spare ribs are larger, meatier, and have a bit more fat running through them — which means even more flavor. They may need a little extra time in the oven, so start checking around the 3 hour mark.
St. Louis Style Ribs — Spare ribs that have been trimmed into a neat, rectangular rack by removing the cartilage and breastbone. They cook more evenly than untrimmed spare ribs and are a favorite for anyone who likes a cleaner presentation.
Country Style Ribs — These are the meatiest option of the bunch and technically come from the shoulder area rather than the rib cage. They're more like thick pork chops than traditional ribs, but they respond beautifully to the same low and slow treatment and are incredibly tender when done right.
The bottom line — whatever ribs you have on hand, this recipe has you covered. Same method, same delicious result.
Simple pantry ingredients — every one of them doing an important job.
Pork loin back ribs — 2 to 2½ pounds is perfect for this recipe. And as we just covered, feel free to use whichever cut of ribs you love most — they all respond beautifully to this same low and slow method.
Ketchup — The backbone of the BBQ sauce. Use a good quality ketchup without high fructose corn syrup for the best flavor — it makes a real difference.
Prefer to skip the homemade sauce altogether? A good quality store-bought BBQ sauce works beautifully here — just brush it on in Step 6 and you're good to go."
Light brown sugar — Sweetens the sauce and helps it caramelize under the broiler into that gorgeous sticky glaze.
Apple cider vinegar — Balances out the sweetness with a little tang. Don't skip it — it's what makes the sauce taste like a real BBQ sauce and not just sweetened ketchup.
Salt and pepper — Season generously. Ribs can handle it.
Nothing fancy — just the basics for a great result.
Preheat and prep:
Heat your oven to 275°F. Set out your roasting pan or rimmed baking sheet and have your foil ready. Low and slow is the whole game here — don't be tempted to rush it with higher heat.
Prep the ribs:
If your ribs still have the thin membrane on the underside, remove it before anything else. Slide a knife gently under the edge of the membrane, grab it with a paper towel for grip, and peel it away from the bones in one smooth pull. Removing it makes a real difference — the seasonings penetrate better and the texture of the finished rib is much more tender. Then season both sides generously with salt and pepper.
Wrap tight and bake:
Place the ribs meatiest-side down in your roasting pan — this position lets the rendered fat and juices naturally baste the meat as it cooks, keeping everything moist from the inside out. If the rack is too long to fit, cut it in half. Seal the pan tightly with foil — or wrap each rack individually in its own tight foil packet and place them on the baking sheet. No steam escaping means no dry ribs. Bake for 2½ to 3½ hours until the meat is completely tender and pulling away from the bone.
Check for doneness:
Start checking at the 2 hour mark. Pierce the meat with a sharp knife — it should slide in with almost no resistance at all. You can also gently bend the rack — if the meat starts to crack and pull away from the bone, you're there. If it still feels tough, keep going. Every oven runs a little differently — if yours runs cool, nudge the temperature up to 300°F and give them more time.
Make the BBQ sauce:
Make the BBQ sauce: Short on time? Feel free to use your favorite store-bought BBQ sauce and skip straight to Step 6 — no judgment here whatsoever. The ribs will still be incredible. While the ribs are doing their thing in the oven, make the sauce. Add all the ingredients to a saucepan and bring to a boil over medium heat, stirring to combine. Once it reaches a boil, reduce the heat and let the sauce simmer uncovered for about 30 minutes, stirring occasionally, until it thickens to your liking. Taste as it cooks and adjust the sugar or seasonings to suit you. Take the pan off the heat and let the sauce cool completely to room temperature.
Sauce and broil:
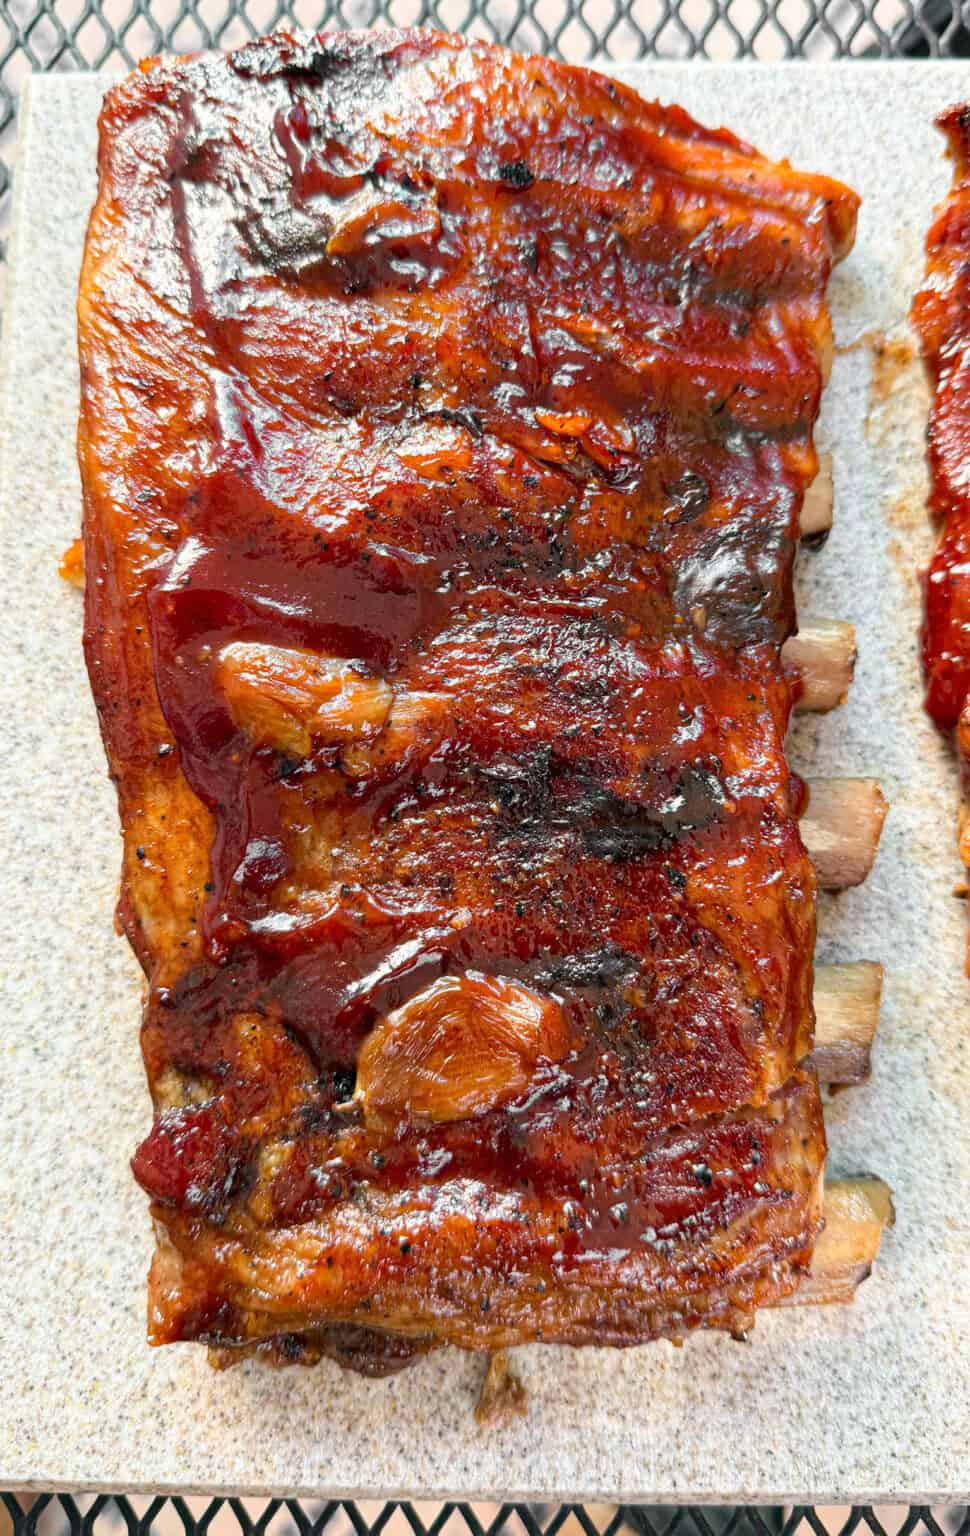
Pull the ribs from the oven, remove and discard the foil, and generously brush both sides with the BBQ sauce. Move an oven rack up near the top and switch your broiler to high. Broil the ribs for 3 to 4 minutes until the sauce is bubbling, caramelized, and deeply glossy. Keep your eyes on them — the broiler works fast and there's a fine line between perfectly caramelized and burnt.
Rest and serve:
Let the ribs rest for just a few minutes before cutting into individual ribs. Then serve immediately with extra sauce on the side and plenty of napkins. You're going to need them.
A few things that make a real difference between good ribs and ribs that people talk about.
Once you've nailed the basic recipe, here are a few ways to put
your own spin on it:
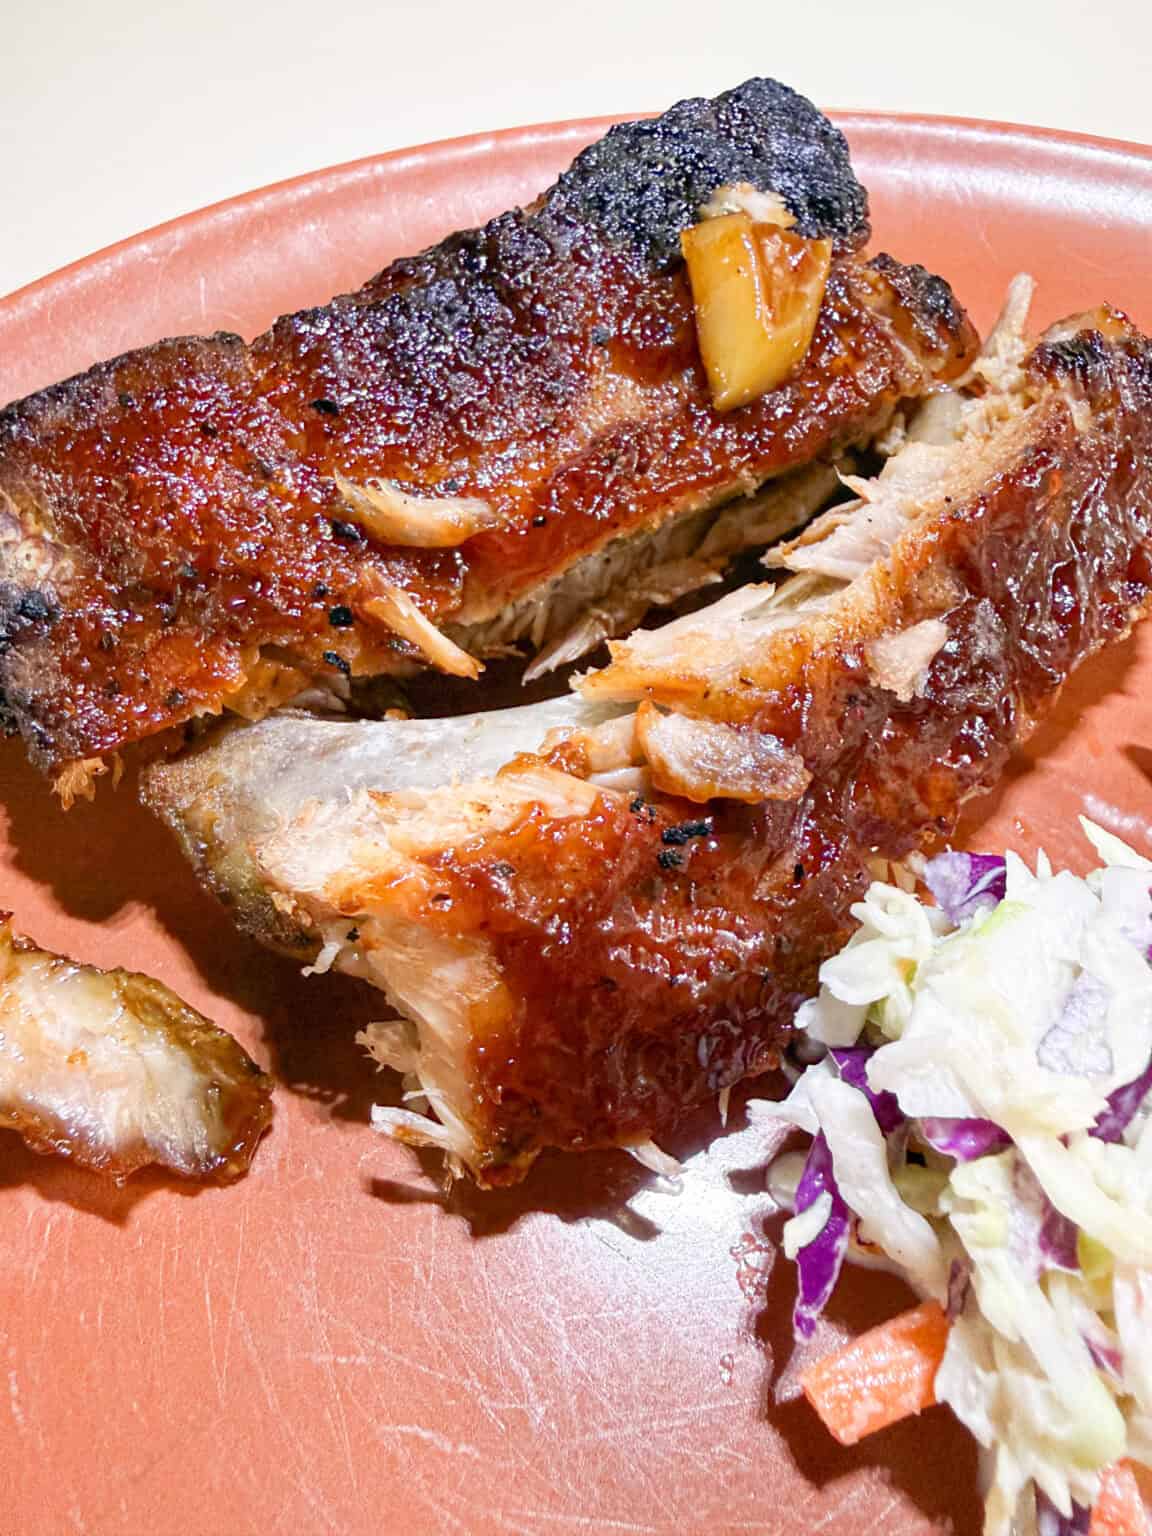
These ribs store beautifully — if you somehow end up with leftovers.
Refrigerator: Keep in an airtight container for up to 4 days. They reheat really well and some people think they taste even better the next day.
Freezer: Wrap cooled ribs tightly in plastic wrap, then again in foil, and freeze for up to 3 months. Thaw overnight in the fridge before reheating.
Reheating: Wrap in foil and warm in a 275°F oven for 20 to 30 minutes — low and slow, same as cooking. Brush with a little fresh BBQ sauce before serving. You can also finish them on the grill over medium heat to wake up that caramelized crust.
1️⃣ Can I use a different cut of ribs?
Absolutely — and I say this from experience. I usually use pork loin back ribs, but spare ribs, St. Louis-style, and country-style all work beautifully with this exact same method. Cook times may vary slightly depending on the thickness of the rack, so start checking at the 2 hour mark and use the knife test to guide you from there.
2️⃣ Do I really need to remove the membrane?
I strongly recommend it. It takes less than a minute and makes the ribs noticeably more tender and flavorful. A paper towel gives you the grip you need to pull it off cleanly.
3️⃣ My ribs are still tough after 2½ hours — what do I do?
Keep going. Every oven is different and some run cooler than the dial suggests. If they're still tough, bump the temperature to 300°F and give them another 30 to 45 minutes. The knife test doesn't lie — no resistance means they're ready.
4️⃣ Can I make these ahead of time?
Yes! Bake the ribs completely, let them cool, and refrigerate. When you're ready to serve, brush with sauce and run them under the broiler or on the grill to warm up and caramelize the glaze. They come out just as good.
5️⃣ Can I use store-bought BBQ sauce?
Of course — and I say that without any hesitation. The homemade sauce in this recipe is simple and really good, but a quality store-bought sauce works perfectly too. Use what you love and what works for your day.
6️⃣ How do I know the ribs are truly done?
Two ways — the knife test (slides in with no resistance) or the bend test (gently pick up the rack with tongs and if the meat starts to crack and pull from the bone, they're done). When in doubt, give them more time. Undercooked ribs are tough. Properly cooked ribs are magical.
These ribs are a full meal moment on their own, but here's how we love to round out the plate:
If you make these oven baked ribs, clear your afternoon and let the oven do its thing. The smell alone is worth it — your whole house is going to smell incredible for hours. And when you pull that foil back and brush on the sauce, you're going to feel very accomplished.
Manny will tell you the grill finish is the way to go. Kevin will tell you to just make more. I'm telling you to try them once and let your own family decide.
Head over to my YouTube channel to watch me walk through this step by step — and drop a comment below telling me how your family reacted. I always love hearing from you.
Enjoy every bite,
Debbie
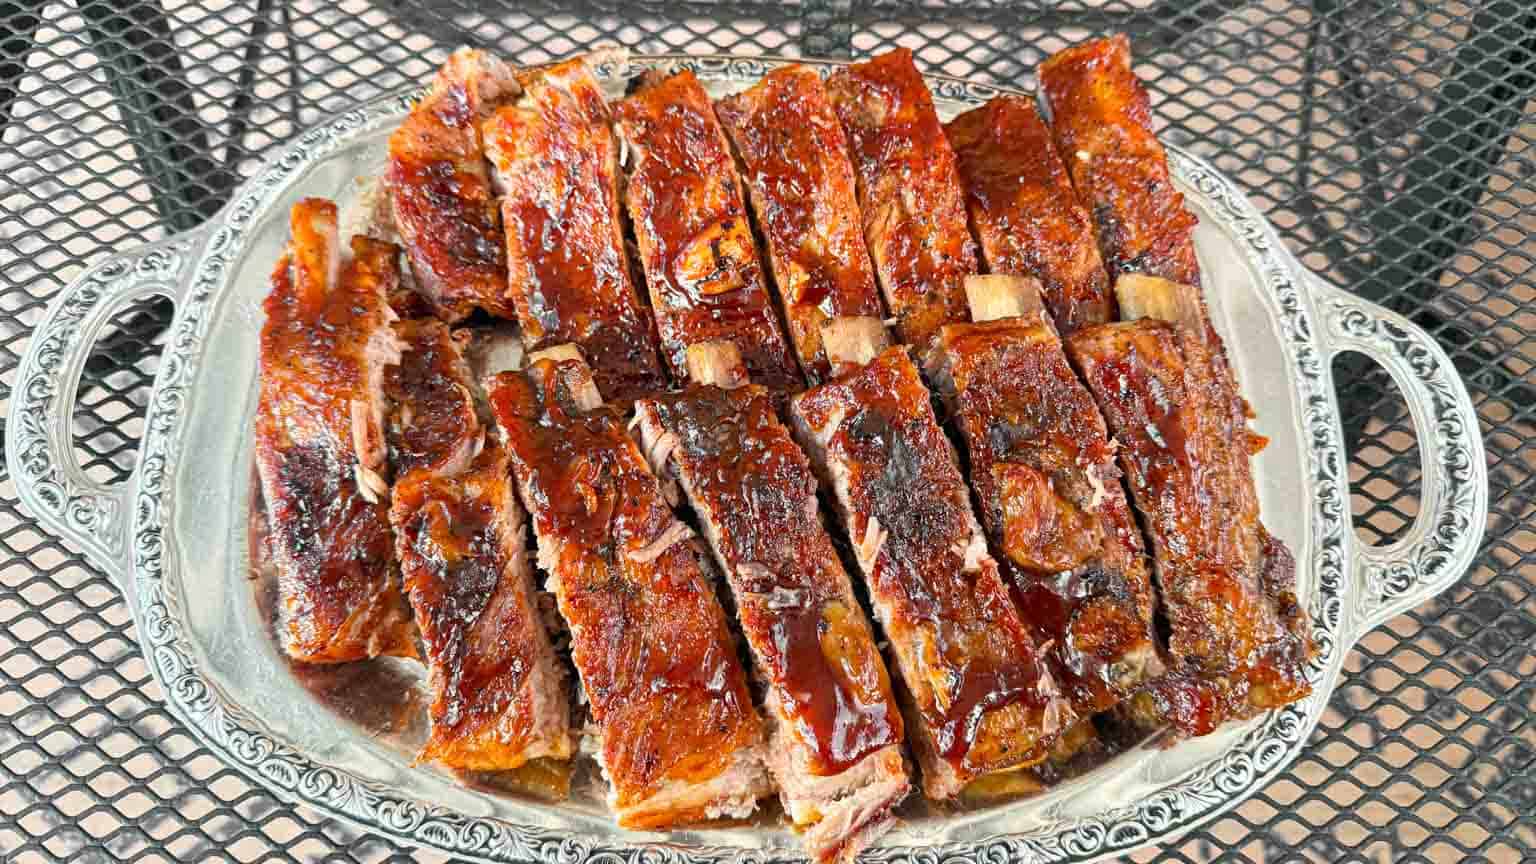
These oven baked ribs are cooked low and slow at 275°F until fall-off-the-bone tender, then brushed with homemade BBQ sauce and broiled until sticky and caramelized. I used pork loin back ribs, but this method also works with other pork ribs with adjusted cooking times.
Flip the rack over and check the underside for a thin papery membrane. If it's there, use a knife to loosen one corner, then grab it firmly with a paper towel and pull it straight off the bones. This one small step makes a big difference — the meat becomes more tender and the seasoning soaks in much better. Once that's done, season both sides well with salt and pepper or seasoning/rub of your choice. Add some garlic clove halves on top of the ribs!
A Note on the BBQ Sauce:
Fresh off the stove, this sauce will smell a little vinegary and taste a touch sharp — that's completely normal. Give it at least an hour in the fridge before using and you'll notice a real difference. The flavors settle and mellow beautifully as they sit. It's good right away for grilling, but even better after that rest. Make it the day before if you can — you'll be glad you did.